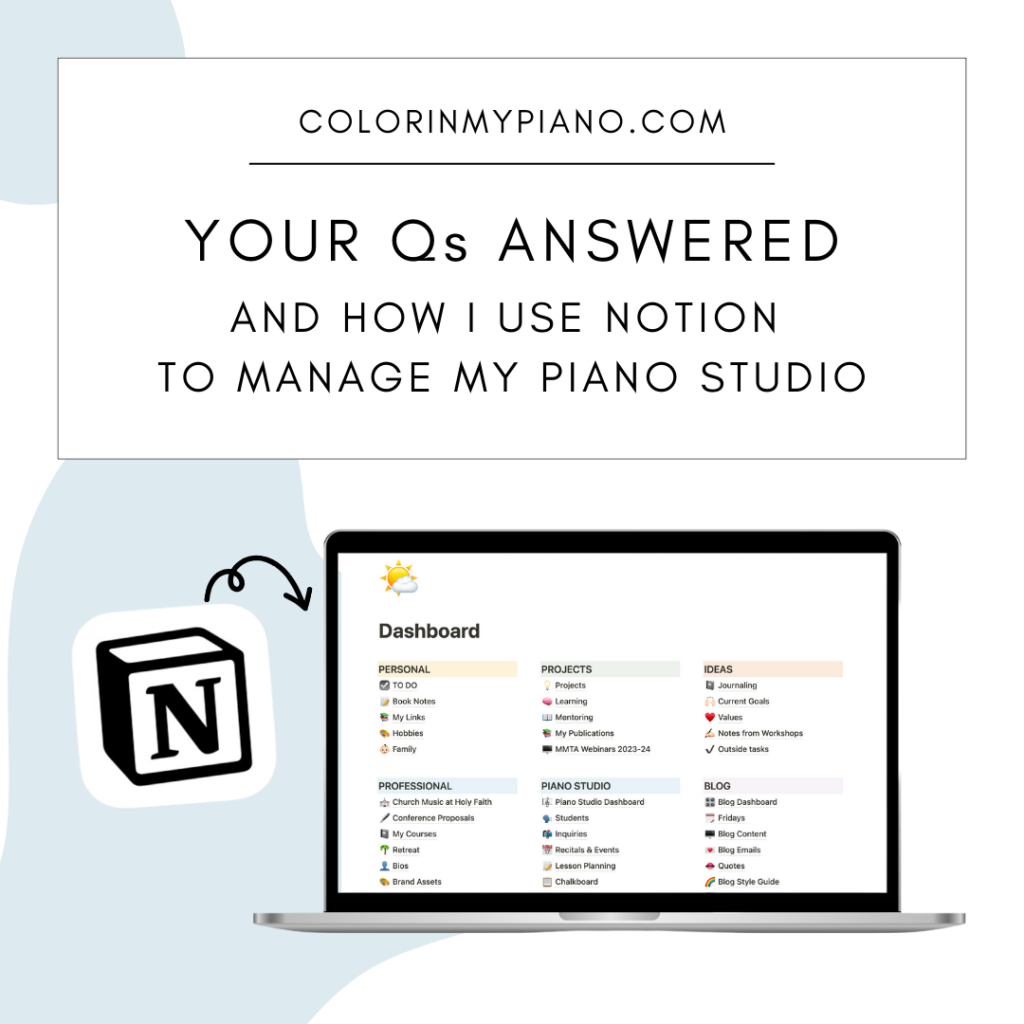
As my friend Amy Chaplin and I prepare for our upcoming online workshop about how to use Notion (a productivity/note-taking app we are both fans of), we’ve been receiving great questions from piano teachers about Notion. Today, I thought I would answer some of those questions and also share more specifics about how I use Notion to manage my piano studio.
An aside: I hope I’m not bombarding you with too much info about Notion! I think you’ll find this blog post interesting, but if not, rest assured I have content on other topics coming down the pipeline soon. 🙂
Q: Is Notion specifically for music teachers/professionals?
A: No, Notion is not music-specific. It’s a general productivity/note-taking app that is taking the world by storm right now. Tons of people are getting into it and are finding great ways to use it.
Notion is part of the “no-code movement” — an effort to make it possible to build your own interactive pages, systems, or software without having to know computer programming. The basics of Notion are easy to learn. And over time, you can continue to learn and “grow into” it. It’s kind of like building with Legos: once you know what building blocks you have, you can build whatever you desire.
During our workshop, Amy and I are excited to share our enthusiasm for Notion and help other piano teachers find ways it can support our unique work as independent teachers and business owners.
Q: Can Notion take the place of studio management software?
A: Yes and no. Notion can do a lot of things, but it cannot do things like invoicing or collecting tuition payments, for example. You would need other platforms for those functions.
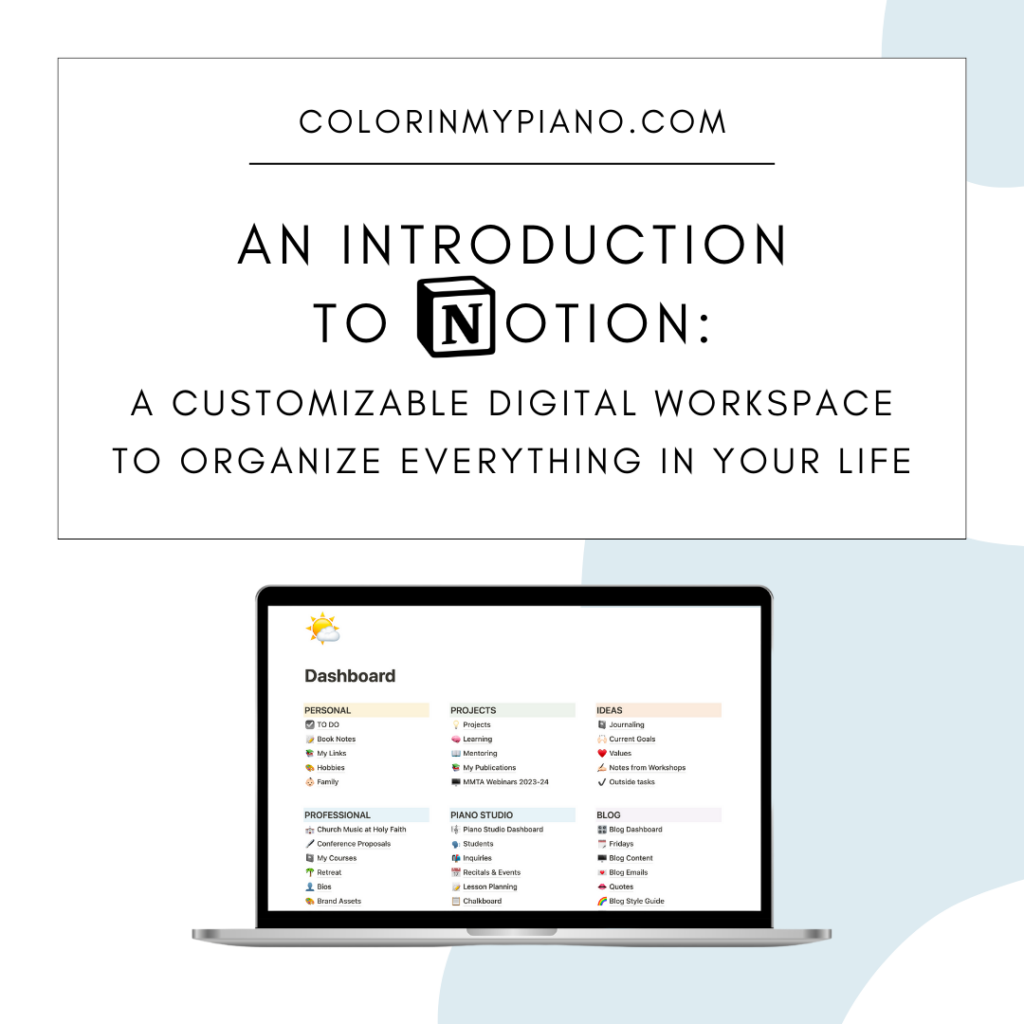
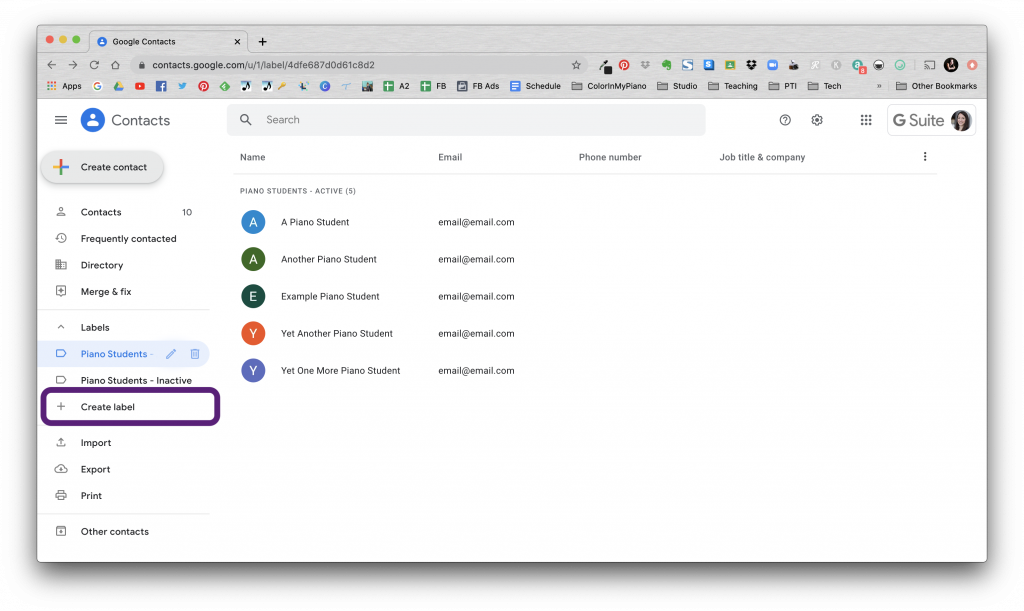
Personally, I have never used an all-in-one program such as My Music Staff or Duet Partner (although I do think they are good services). Instead, I use a variety of services for managing my studio business. For example, my students pay a flat rate tuition payment automatically each month using Coinhop. This eliminates the task of manual invoicing. For keeping track of my teaching schedule, I use Google Calendar. To keep track of student information and much more, I use Notion (more on this shortly).
Continue reading “Your Qs Answered, and How I Use Notion to Manage My Piano Studio”