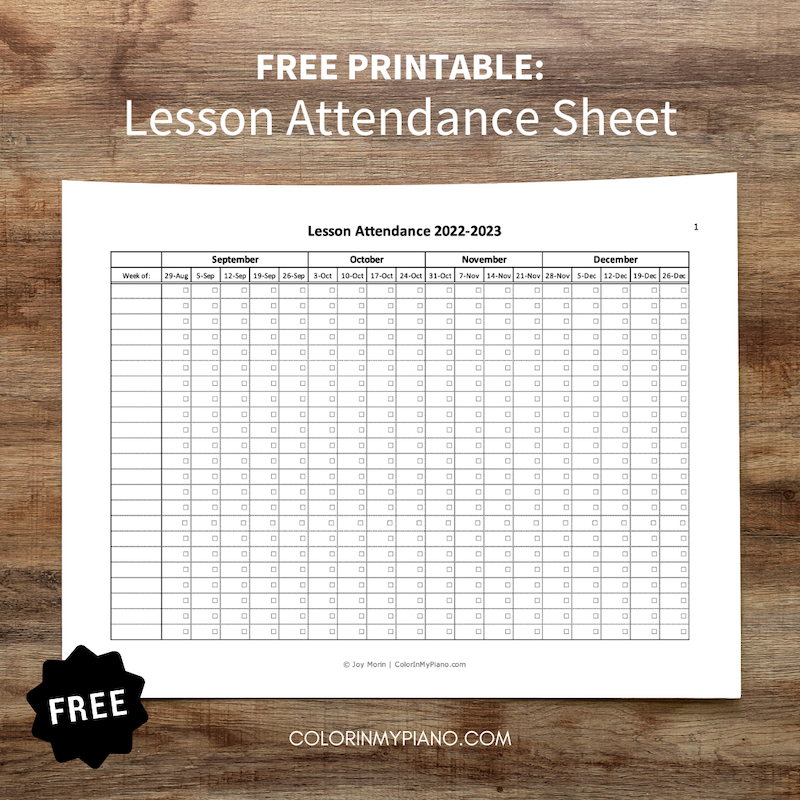
I just updated one of the studio business forms from my Printables page for the 2022-23 school year. It is called the Lesson Attendance & Payment Sheet PDF. Even though I don’t personally use this sheet myself anymore (I now charge a monthly flat tuition rate), every year I receive requests from teachers asking if I would please update it for the upcoming school year. And I’m happy to do so!
In case you haven’t seen this from before, here is how it works: Write your students’ names in the first column. Each week, write the lesson date (in a month / date format) in the column for that week. This is how you can track attendance. The small circles in each cell are where you can write checkmarks indicating tuition payments. Whether you charge by-the-week or by-the-month, you can place a checkmark by each paid lesson date.
Have you heard? The Royal Conservatory of Music (RCM) has recently released the newly revised 2022 Piano Syllabus for their practical examinations. They are also releasing new editions of the wonderful Celebration Series piano literature collection (available soon). What exciting news for piano teachers!
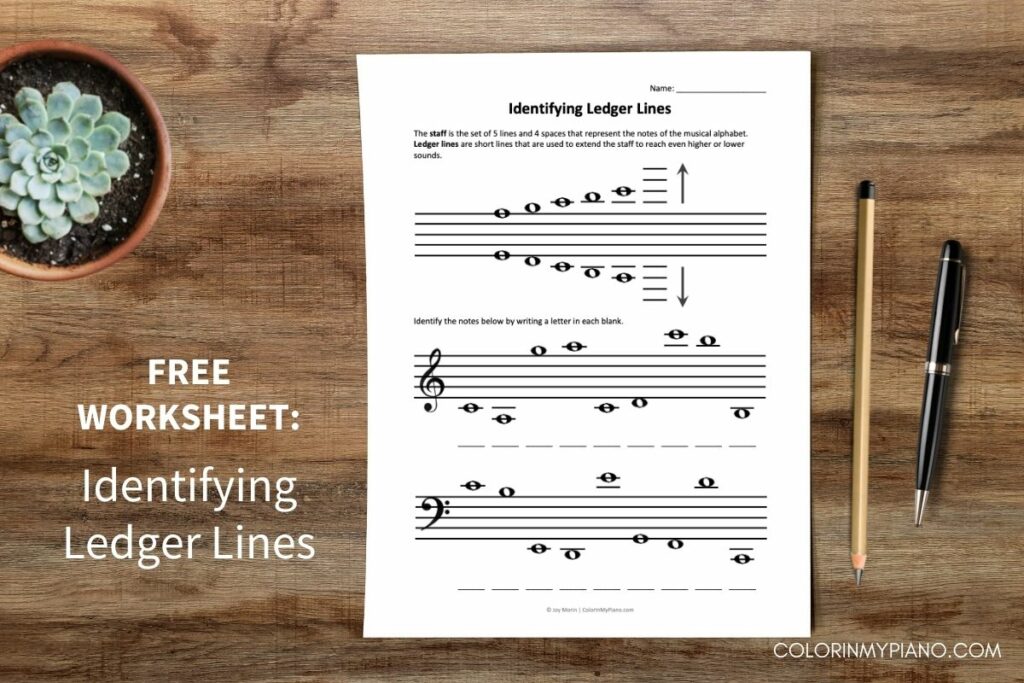
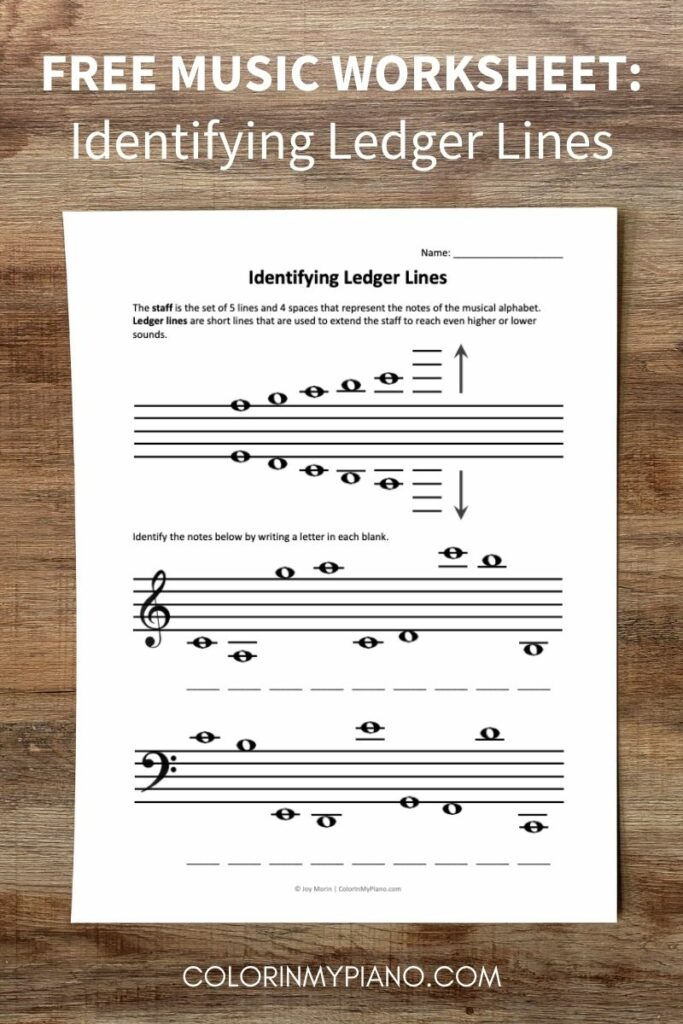
It’s been quite a while since I shared a new worksheet…until today! Here is a brand new worksheet about ledger lines that you are welcome to use with your piano students or music students of any instrument.
The top of the page includes a definition and a graphic demonstrating what ledger lines are. The rest of the page presents a number of ledger line notes and asks the student to identify the letter name of each note. It’s a simple worksheet that might be useful to send home with your students to reinforce the concept after you cover it during a lesson.
Download this FREE worksheet by visiting the Printables > Worksheets page and scrolling down to “Identifying Ledger Lines.”
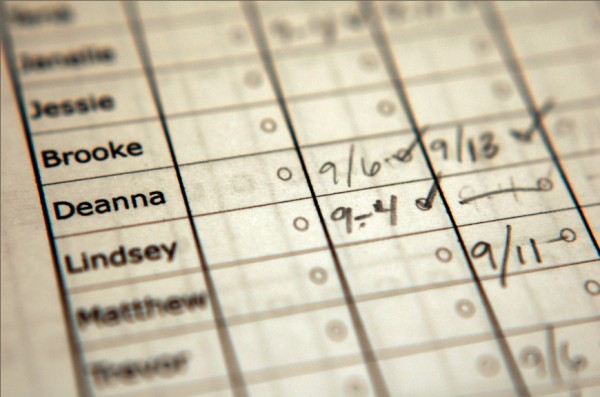
I just finished updating one of the studio business forms from my Printables page for the 2021-22 school year. It is called the Record of Lesson Attendance & Payment PDF. I do not currently use this form myself anymore, but every year I receive multiple requests from teachers asking if I would please update it for the upcoming school year!
In case you haven’t seen this from before, here is how it works: Write your students’ names in the first column. Each week, write the lesson date (in a month / date format) in the column for that week. This is how you can track attendance. The small circles in each cell are where you can write checkmarks indicating tuition payments. Whether you charge by-the-week or by-the-month, you can place a checkmark by each paid lesson date.
P.S.: Here is a link to where I explain an alternative system for tracking payments received. But nowadays, I enter everything into a Google Sheet! I explain my system and share the spreadsheet in my online course for piano teachers, Excellence for Piano Teachers. If you’re interested, you can learn more and join the email list to be notified when the next session is offered (usually in January).
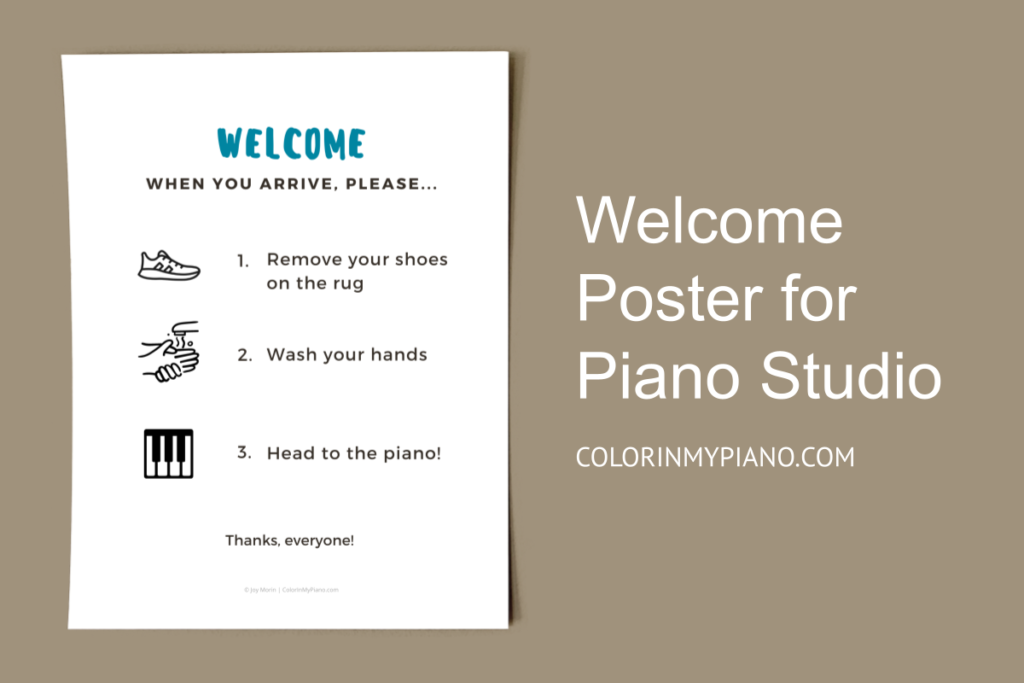
In yesterday’s post, I talked about my gradual transition from online lessons to in-person for my Michigan-based students (my Ohio-based students from before my move will remain online). As promised, in today’s post I am sharing a free printable poster you can use to welcome students and help remind them of your protocols when they first arrive.
Any time students come for their first lesson at my studio, I find it’s important to “train” them, so to speak, with my expectations such as removing shoes, washing hands, etc.. After welcoming students at the door, this involves stating something like: “Whenever you arrive in the future, I’d like you to remove your shoes here, wash your hands here, and then head to the piano!”
I thought it might be useful to post a friendly poster with these reminders, in case it helps students remember what to do the first few times they arrive until it becomes a habit. I laminated it and use poster putty to hang it where it will be easily seen.
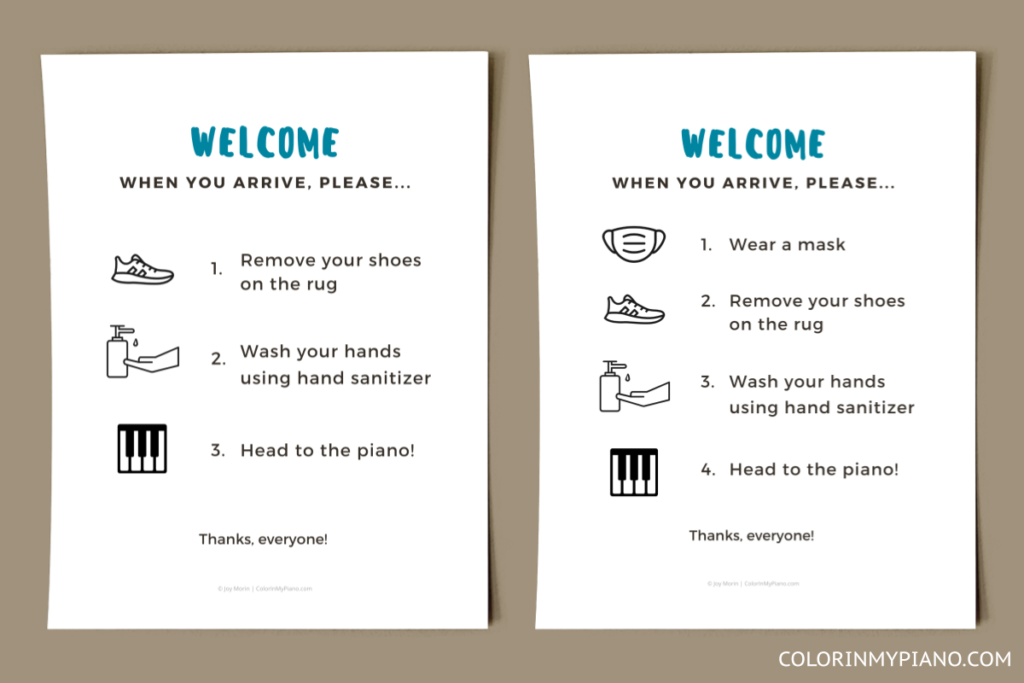
I created a few different variations of the poster, in case you might like to use it! I’ve included versions with and without masks (for pandemic times and non-pandemic times). And there are versions included for using hand sanitizer versus washing hands in a sink.
To download this PDF, visit the Printables > Studio Business page and scroll down to “Welcome Poster for Piano Studio.” Enjoy!
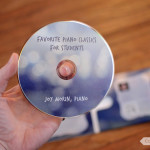
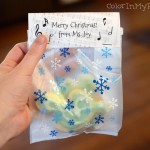
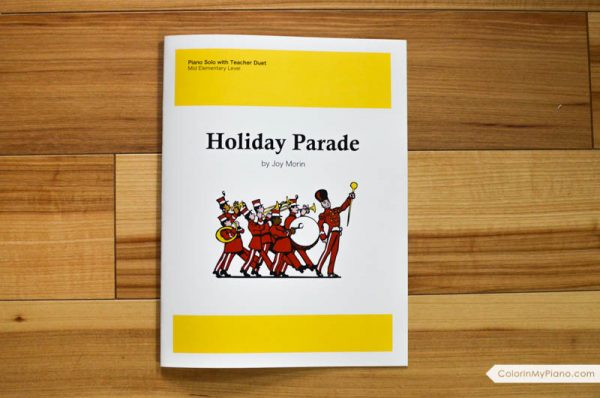
For this year’s project, I decided to compose two pieces (one mid-elementary level and one late intermediate level) and give them to my students for Christmas. Here is a peek at how the elementary piece turned out:
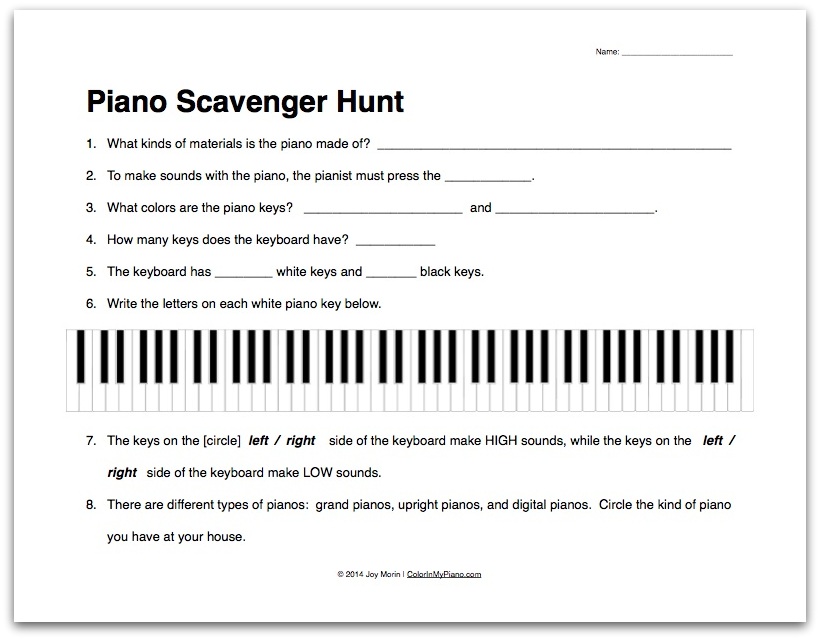
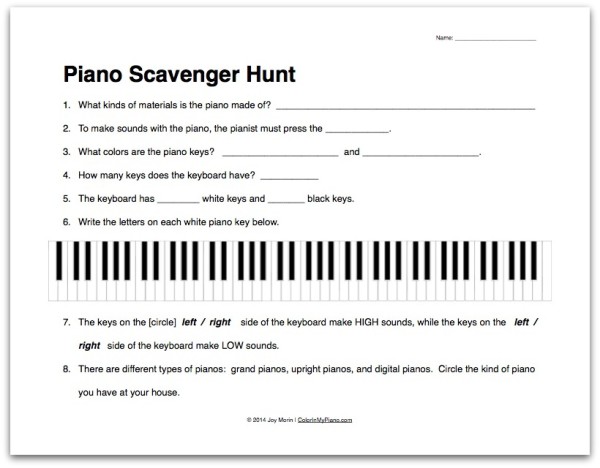
Last Saturday, I held the last Piano Party (monthly group class) for the school year. Our theme was to talk about the piano as an instrument: how it makes sound, types of piano, why the piano must be tuned, etc.
Here is a simple worksheet I used at the beginning of class to kick things off:
I allowed students to work alone or in groups to complete this worksheet. I told them they could get up and go to the piano to answer the questions if needed.
I think this worksheet would be a fun activity for a private student’s first lesson as well!
Download the free PDF by visiting the Printables > Worksheets page and scrolling down to “Piano Scavenger Hunt.”
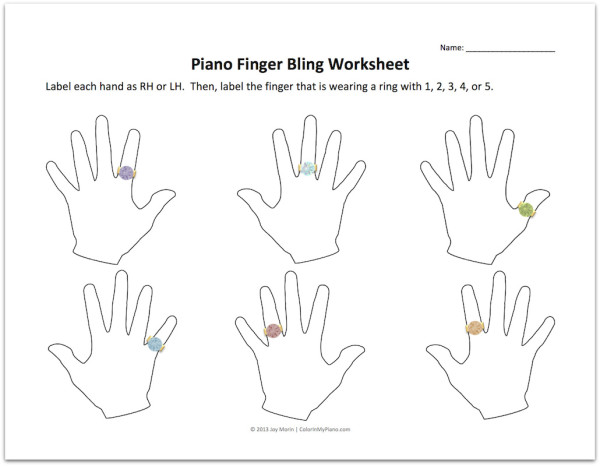
First, here is a printable worksheet for beginner piano students. Their task is to label each hand as RH or LH and then label the finger with the ring as #1, 2, 3, 4, or 5. My beginners love completing this quick worksheet!
As I was making this worksheet, it occurred to me that it would be fun to get a plastic diamond ring to use when quizzing students on their finger numbers. Fun little props can add a lot of fun to drills. 🙂
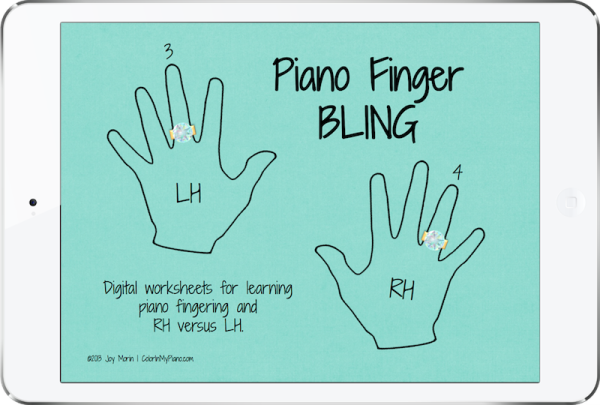
Then, I decided to make a digital version of this worksheet to use on my iPad with the GoodNotes app. Students can draw on each page in order to label the hand and finger. It’s a quick little activity that can be completed during the lesson.
To download the printable worksheet, visit the Printables > Worksheets page and scroll down to “Piano Finger Bling worksheet.”
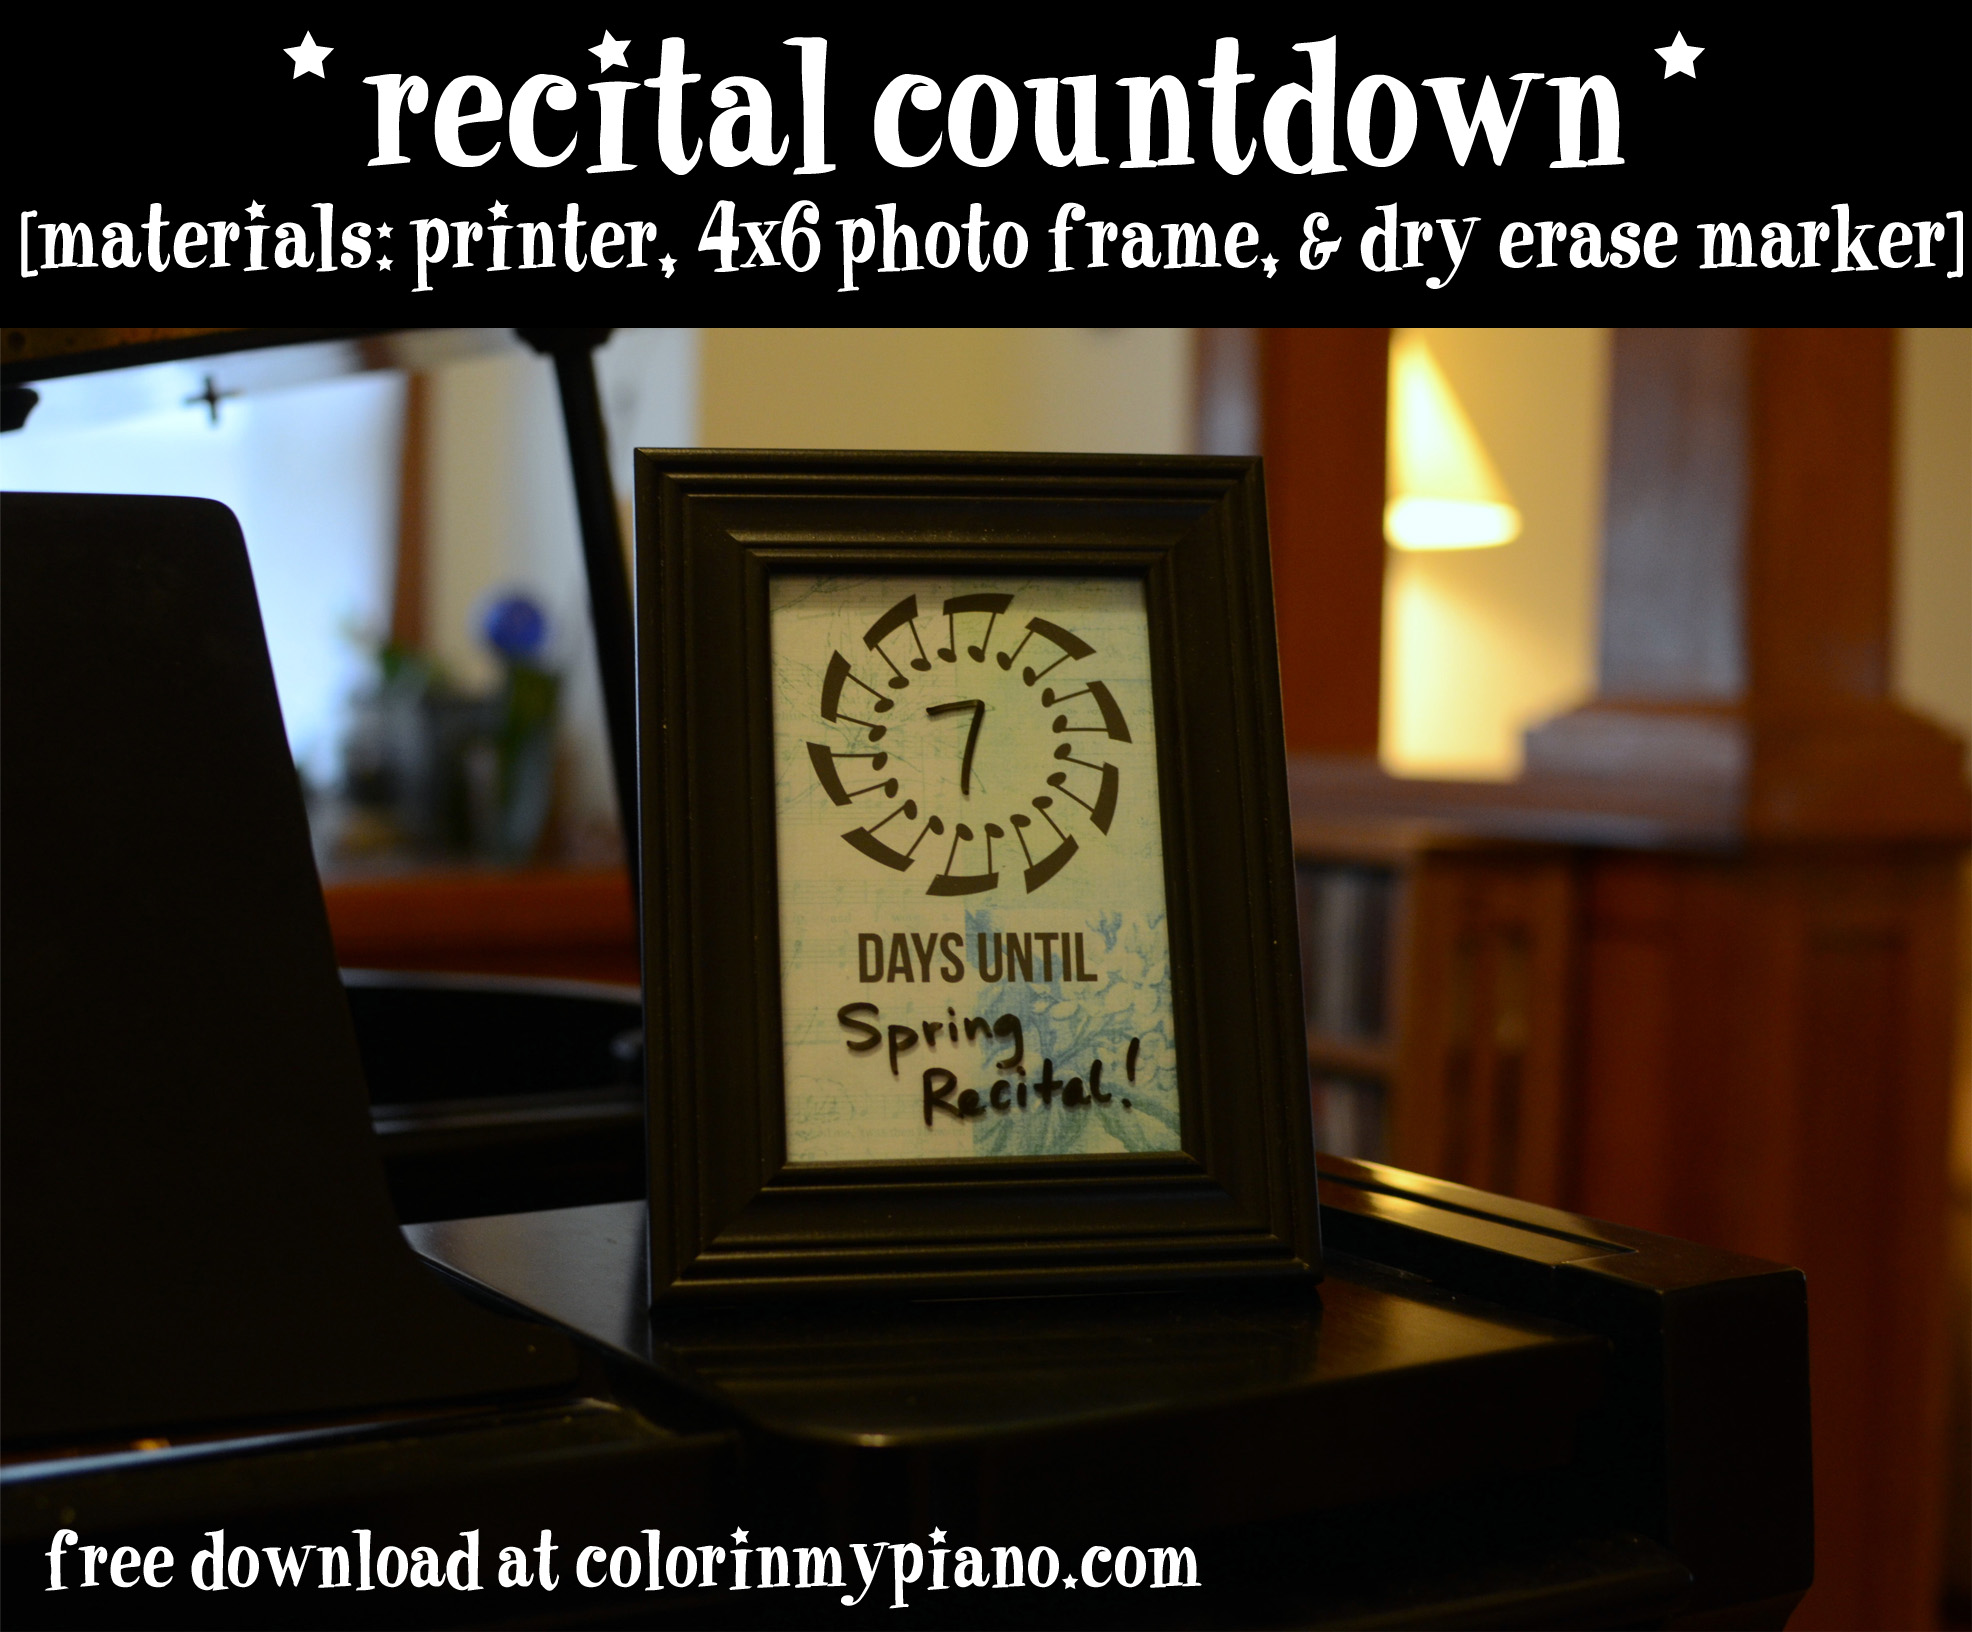
Do you have any 4×6 photo frames lying around? It’s time to put one to good use!
This do-it-yourself project will help remind your students about upcoming studio events each time they come for their piano lesson. 🙂
Materials:
4×6 photo frame
Printed background (download the free JPG file on the Printables > Other Resources page — scroll down to “Recital Countdown”). When you print, be sure that the image is printing at the actual 100% size.
Directions: Design a background (or print the one I’ve created), insert it into a 4×6 photo frame, write the event & countdown number on the glass with a dry erase marker, and place your new Recital Countdown on/near your piano!
If you watched either video, you probably saw how wonderfully easy it is to use the rhythm fonts. You probably also saw, in the second video, that the non-rhythm fonts are more challenging to use and rather limiting in what they can do.
I have a solution. 🙂
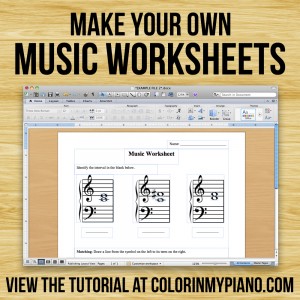
To make the worksheet-making-process a little bit easier, I recently decided to create photo files (in this case, png files) of various music symbols. Clicking and dragging photo files into a worksheet is much easier than inserting a text box, calling up the font you need, and then locating the music symbol from with the font’s character map. Hooray!
I’m sharing this set of png files for FREE, and I’ve also made another video tutorial about how to get started using them.
To get started, you’ll need to download and unarchive the zip file containing the individual png files on the Printables > Worksheets page. Then, be sure to save the folder of png files to a safe place on your computer so you can use them for years to come. Then, using Microsoft Publisher (or a similar program), you are ready to start creating!
I hope this video helps you get started, but please do let me know if you have other questions. I can’t wait to see what worksheets and other creations you will be able to create using those png files!
Copyright Information: These images are released under a Creative Commons copyright, allowing users to create and sell their own projects that make use of these images. However, the image files themselves should not be freely distributed or sold to others. Instead, please direct others to download the files directly from ColorInMyPiano.com. Thanks!
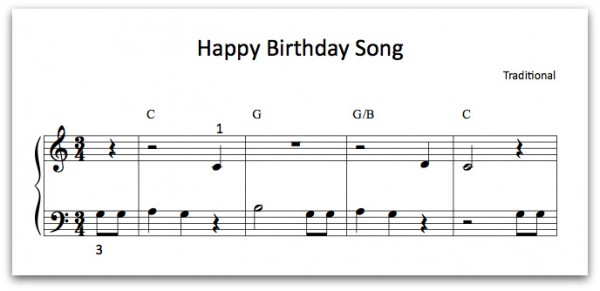
Before playing the 12-Bar Blues, though, I had them playing the Happy Birthday song as a duet. I created a simple arrangement of the melody in Finale, with the chord symbols included above the staff.
I assigned the younger student to play the melody as written in the treble range of the keyboard, and instructed the other student to create a simple accompaniment by reading the chord symbols.
This was an excellent exercise in learning how to listen to each other! 🙂
I found out later that two of my students played the Happy Birthday duet for an older sibling’s birthday, a couple days later. What good timing! I think it is great for students to be able to play basic tunes like the Happy Birthday song for their families.
I also wrote an easy arrangement of “Twinkle, Twinkle, Little Star,” but we didn’t have time to use it that day. You can download both arrangements as free pdfs on the Printables > Sheet Music page.

 Lesson Attendance & Payment Sheet (2023-24) (138.1 KiB, 36,674 hits)
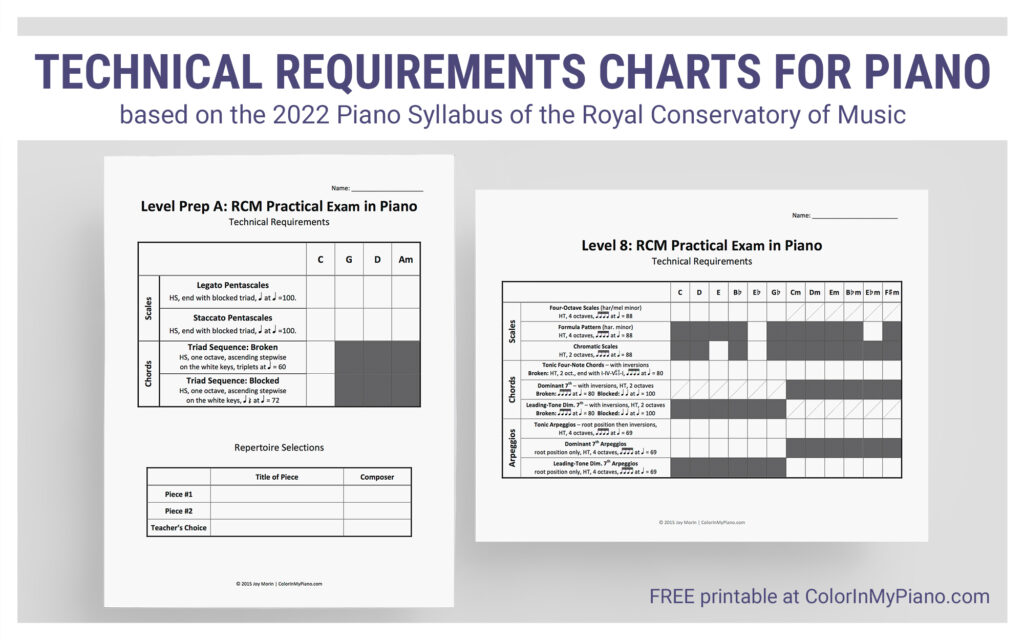

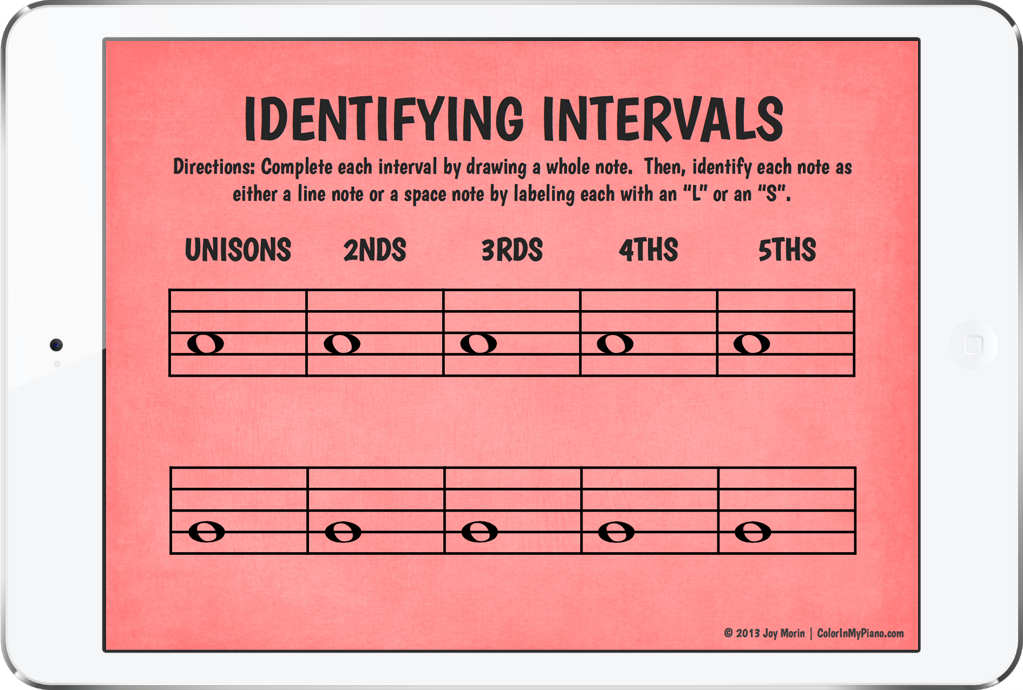
 Before I talk about the interval worksheets, I’d like to announce the five winners of the NoteWorks app for iPhone

 Over the last few weeks, I’ve shared a couple of video tutorials about how to
 To follow up on