
Interview lesson, meet-and-greet, intro lesson, trial lesson, consultation—whatever you choose to call them, introductory sessions are a great way to jumpstart your potentials students’ success in music lessons. This article presents five steps to help you make the most of your interview lessons with new music students.
Step 1: Define Your Goals for the Interview Lesson
Before conducting an interview lesson, it is important to determine your goals for an interview lesson. For many music teachers, these sessions are useful for setting expectations for their music studio and determining if a student-teacher fit is possible. They allow you to build rapport, communicate your expectations for practice, behavior, payments and other studio policies and procedures, and assess the student’s goals, needs and level of interest.
Additionally, an interview lesson can also be an opportunity to:
- Determine if you are the right teacher to meet the student’s goals and needs
- Evaluate if the student is a good fit for your teaching philosophy, approach, and personality
- Begin determining an appropriate approach and curriculum
- Give the student a taste of your teaching style
- “Sell” the student on your services and offerings
- Check the student’s internet connection, device camera/microphone, and camera angle (if offering online lessons)
Some music teachers charge for interview lessons, while others offer them for free. There are valid justifications for both approaches. If your time is in great demand, for example, you might decide you wish to charge a fee for your interview lessons. Alternatively, if time is not an issue and you are hoping to add many more students to your schedule, you might wish to offer interview lessons as a complimentary part of your services.
Step 2: Prepare Your Teaching Space and Materials
Once you’ve determined your goals, it’s time to prepare your teaching space and materials. Ensure that your music studio is welcoming and tidy, and pull out any method books, sight-reading books or other teaching materials. Have copies of your Studio Policies document and Student Information form ready to go.
The Student Information form—which could take the form of either a printed sheet or an online form—can be used to collect basic contact information and answers to important questions, such as:
- “What kind of music instrument do you have at home?”—a necessary question for being able to advise students towards an appropriate instrument if needed.
- “How did you hear about me?”—a useful question for learning which marketing channels are performing best.
- “What else would you like the teacher to know?”—a non-threatening, open-ended question inviting students/parents to share any kind of information that may help you teach them. For example, you might receive information regarding the student’s personality, motivations, challenges, goals, learning differences and more.
When students arrive, give them a warm welcome and consider offering a brief tour of your studio space. Explain that the interview lesson creates no obligation; rather, it is an opportunity to get to know each other and determine if there is a good teacher-student fit. Ask parents to fill out the Student Information form and read the Studio Policies (which can be discussed together later in the session). Adult students can be asked to fill out the form in advance or during the session.
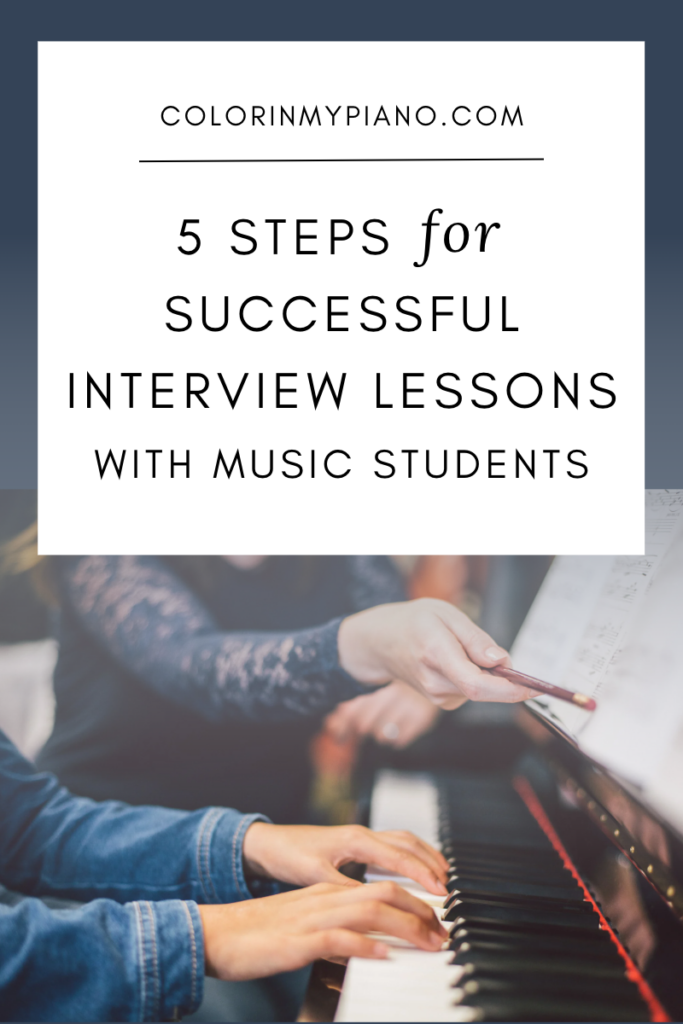
Step 3: Give a Mini Lesson (10–15 minutes)
The most important part of the interview session is to teach a short lesson. This allows you to informally assess the student’s musical potential and abilities—no matter their age or past experience with music—and begin planning an appropriate approach and curriculum for the student. It also gives the student a sense of your teaching style and what music lessons are like.
Begin by inviting the student to play a piece if they have one ready. For beginners, this may be a short tune they’ve figured out by ear or learned from someone else. A next step for beginners is to conduct a few simple music activities such as:
- Ask the student to join you in moving expressively or in sync with the beat of a song or recording.
- Echo rhythm patterns and tonal patterns.
- Give an explorative introduction to the musical instrument you teach.
- Improvise a short duet together.
Finally, teach the beginner student to play a simple piece or two—whether learned by ear/rote, introductory reading or a combination—which they can enjoy playing at home.
Transfer students (those who have taken lessons with previous teachers) can be asked to play a piece they’ve completed recently and/or a piece still in progress. After hearing them play, give the student a specific and genuine compliment on their performance. Then, ask the student if they would be comfortable hearing a suggestion or two. How the student responds to your instruction will be a helpful indicator of how well you and the student may work together.
In the case of transfer students, ask them to sightread and demonstrate technical exercises they’ve mastered (scales, arpeggios, chords, etc.). You may also wish to include aural activities such as echoing rhythm and tonal patterns or playing a familiar tune by ear. Other questions could address their past experience with theory, home practice habits, repertoire preferences, memorization, performing, and future goals. Seek to form a comprehensive picture of the student’s abilities and any gaps that may need to be addressed. Effective interview lessons involve asking lots of questions!
If you offer online lessons, this is also the time to check that the internet connection, video conferencing platform, device, microphone, camera angle, and music instrument are all acceptable.
Step 4: Discuss Expectations and Studio Policies and Procedures
After the mini lesson, take time to have a conversation with the student and their parent/guardian. Review what you observed, and explain what curriculum you would use with the student should you decide to commence lessons together.
It’s also important to talk about expectations and responsibilities. Go over the Studio Policies together, especially highlighting tuition due dates, payment methods, missed lessons, and home practice expectations. Make sure the student and their family understand what is expected of them and what they can expect from you as their teacher.
Step 5: Outline the Next Steps
At the end of the interview lesson, answer any remaining questions and thank the student for meeting with you. Encourage them to take a few days to consider lessons with you and reach out if they are still interested in starting lessons. If they ask about available lesson times in your schedule but you aren’t ready to commit, give them only a general idea of possible availability or tell them you can get back to them regarding this by email.
By encouraging students to take time, you also allow yourself time to consider the fit. Immediately after the interview lesson, take 5 or 10 minutes to read through the completed Student Information form and write down your thoughts and observations of the student. This process can help you decide whether the student/parent seems to be compatible with your approach, studio policies, and the services you offer. Your notes might also prove helpful later as a reference when planning the student’s curriculum.
If for any reason you feel the student and/or parent is not a suitable fit, write a short but friendly email reply thanking them for their interest and stating that you feel they would be a better match with another teacher. Alternatively, if you are confident you’d like to teach the student, you can initiate with a follow-up email informing them of your eagerness to discuss scheduling further.
Conclusion
The interview lesson is an important first step in your musical journey with a new student. Ideally, it serves as a learning opportunity for both parties and aids in the process of finding the right fit. It also allows you to get to know the student and their parent, assess their abilities and goals, and set expectations for future lessons. A successful interview lesson is one that is a positive experience for all involved and beneficial for both the student and teacher. By following these five steps, you’ll be able to conduct successful interview lessons that lead to productive and long-lasting student-teacher relationships.
Note: I wrote this article originally for publication for the Music Teachers National Association’s (MTNA) Business Digest, Volume 2, Issue 3 in April 2023. MTNA is a fantastic organization dedicated to supporting and furthering our work as independent music teachers. Browse the MTNA Business Digest archives here, and learn more about joining MTNA here. I can’t imagine not being a member of MTNA and my state/local chapters!
Related: View a variety of sample studio business documents here.
Your turn: Do YOU conduct an interview lesson with your potential students? What activities do you like to include in the session? What benefits do you see in conducting some kind of intro session before commencing lessons? Please share in the comments below.
Hi Joy, As always very interesting reading!!
Could you show us an example of a Student Information form , I should be interested to see what kind of informations you ask to your future pupils and parents!
Thanks a lot, and I hope you’re going well with all your cute little girls!!
Martine
Sure! Check out this blog post for an example Student Information form: https://colorinmypiano.com/2010/07/05/printables-updated-student-info-form-and-student-interview-forms/ I think I’ve updated mine slightly since publishing that blog post, but all the basics are the same. All the best to you, Martine!
Joy, thank you for your suggestions. They will be very helpful for me.
You’re welcome, Nancy. Glad you found some helpful suggestions!
You did a great job with expressing the high points of an initial meet and greet/interview with a potential student. Thank you! I enjoy your site and blog!
Thanks, Sharon! Glad you enjoyed the article!
Thanks for sharing such deep information with us it really helps me a lot and the points which you have mentioned its really worth it I am also running a music school in Jupiter Florida this will help me a lot. Once again thanks