 As promised, here’s more about the Music Theory classes at our Piano Mini-Camp a few weeks ago. I didn’t create formal lesson plans per-se, but the next three posts will serve as a general outline of the activities we did over each of the three camp days.
Gem Notes on the Keyboard & Staff
Using Susan Paradis’ wonderful resources, I created an activity for teaching 5-finger patterns (5FPs) and scales. We used colorful glass stones (from the dollar store) to build 5FPS/scales on her table-top keyboard printable and one of her grand staff printables. After printing everything out on cardstock, I cut out the table-top keyboard so that the students each had one long keyboard and then put each grand staff in a sheet protector.

The students really enjoyed using the colorful “gems.” One little student kept asking me, “Are they REAL GEMS?!” =)
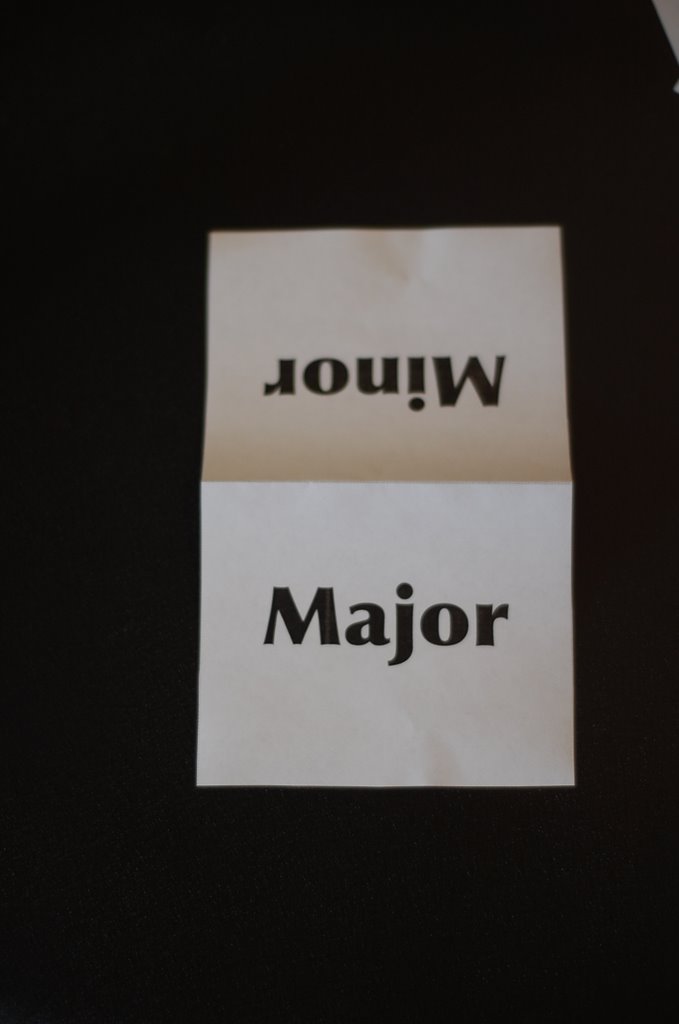
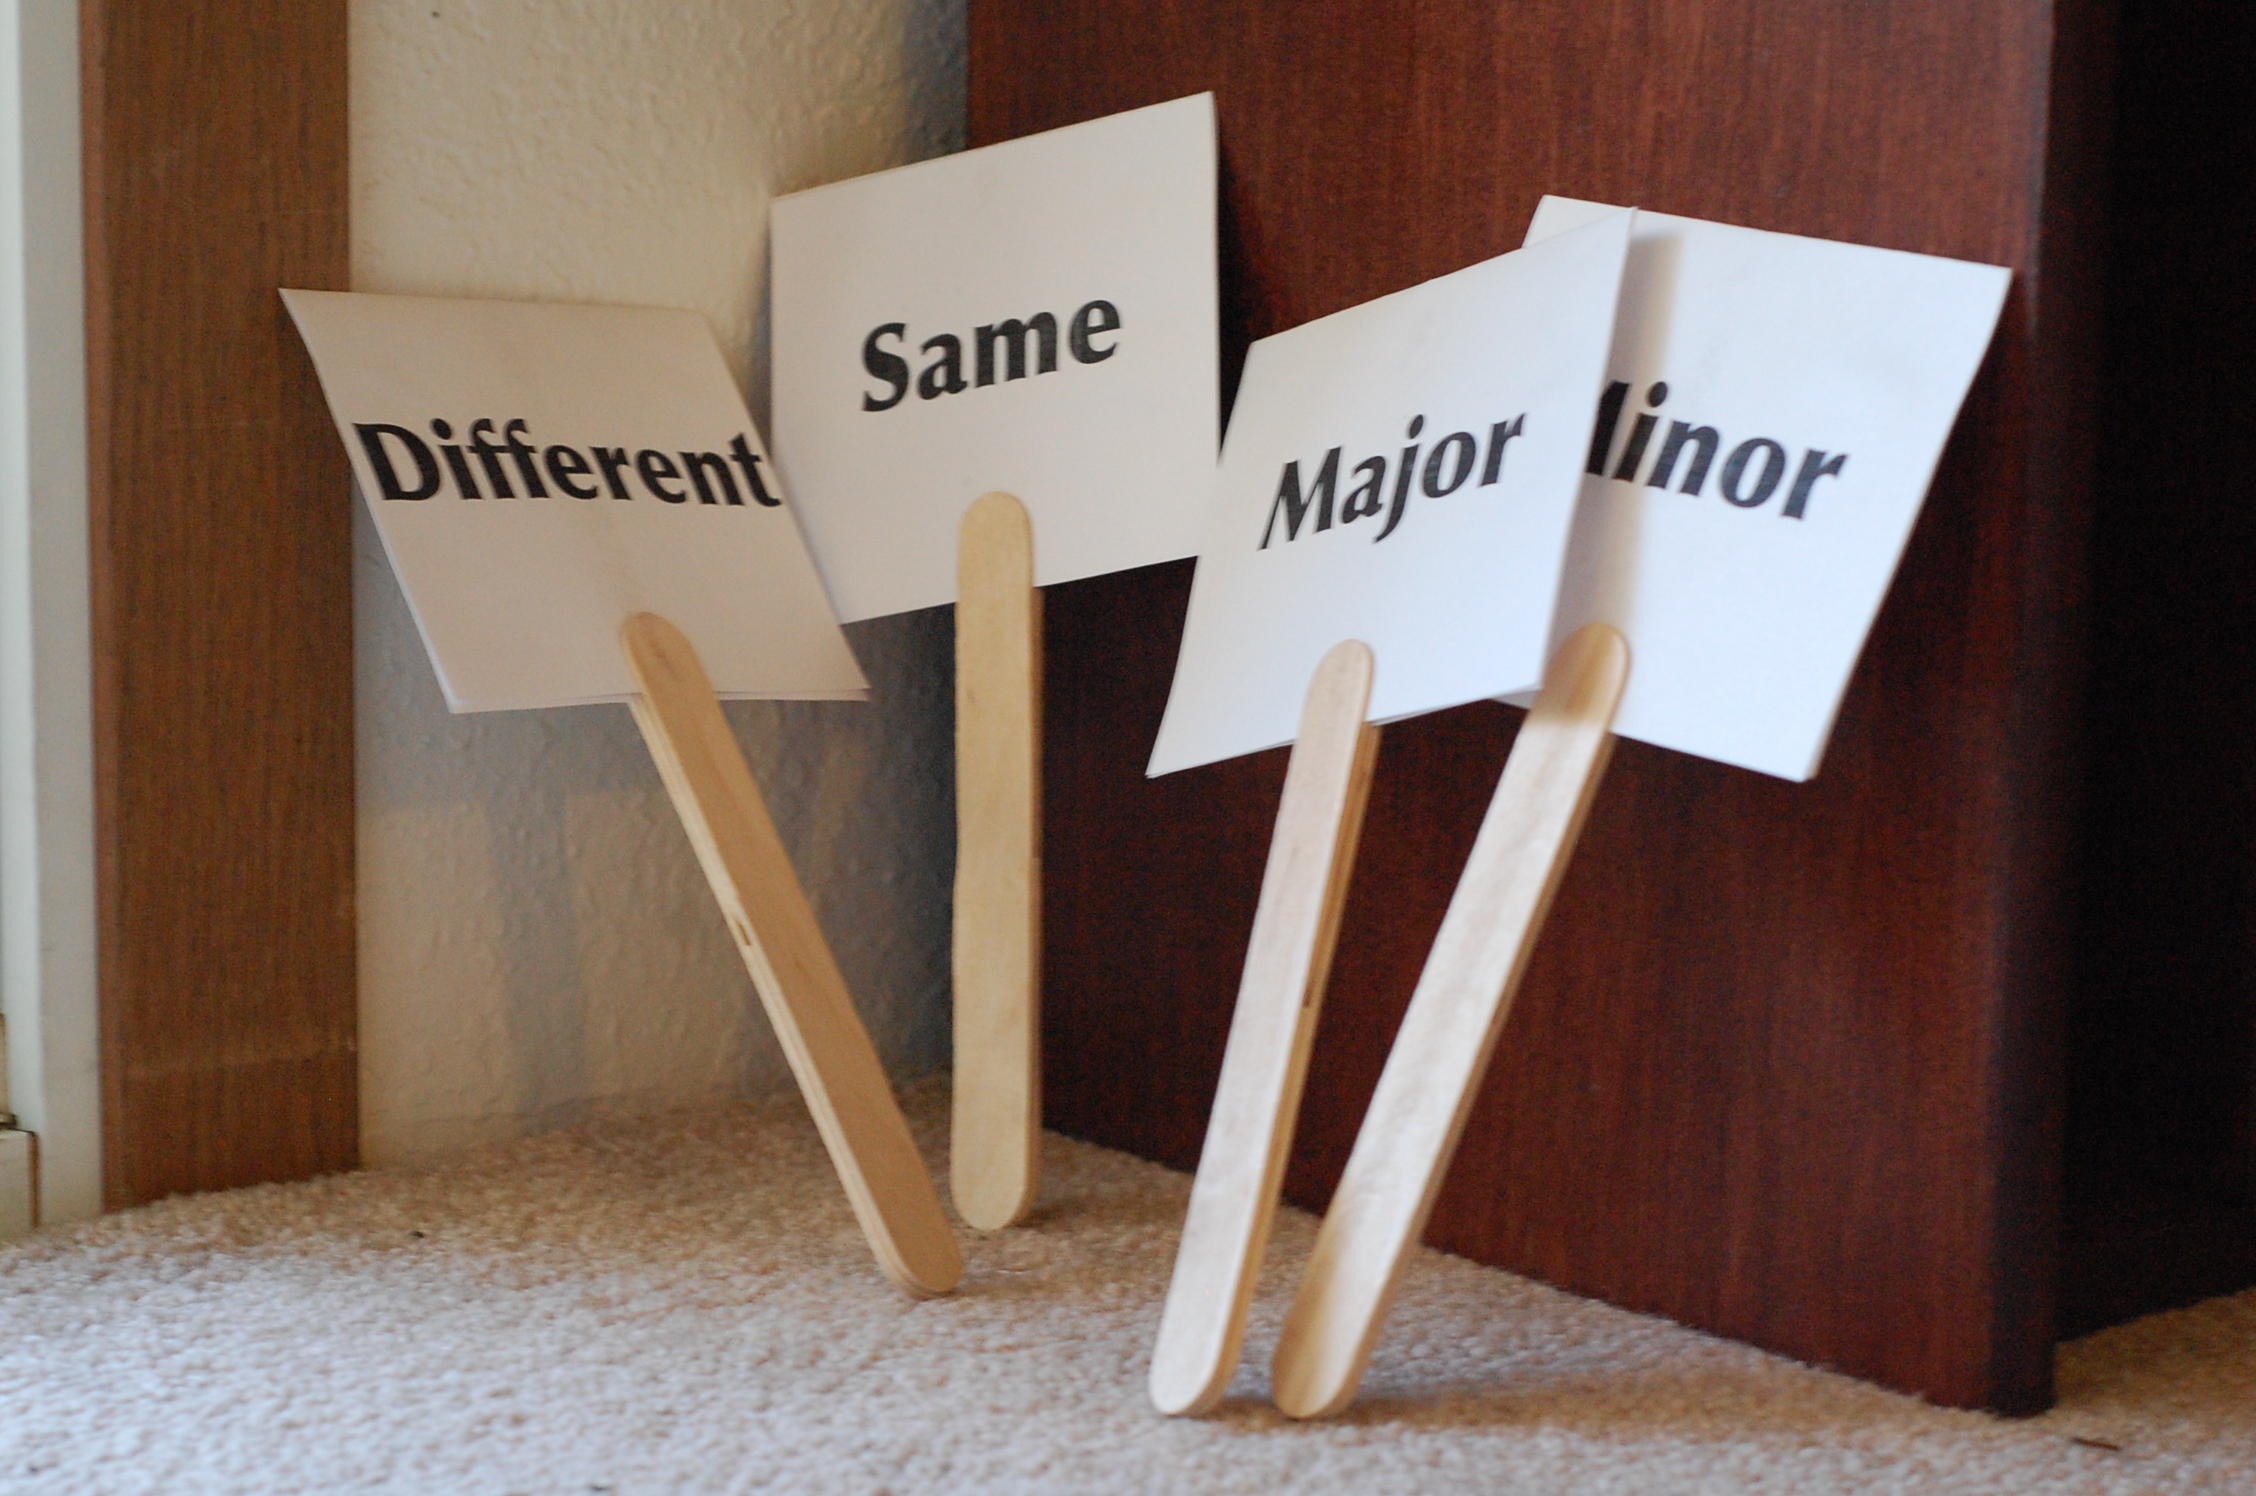
With the younger students, we learned just about 5FPs: how to build them (WWHW) in various keys, and how to make them minor (lower the 3rd). With the more advanced students, we learned about the entire scale (WWHWWWH) in various keys, and how to make them minor (lower the 3rd, 6th, and 7th for natural minor).

We first created the 5FP/scale first on the keyboard (pictured above), and then created it on the staff. The reason I had the student do both is because I think students sometimes fail to make the connection from the keyboard to the staff and vice versa. I intended this activity to be a way to build their understanding of the connection between their playing and what they see on the staff when it comes to 5FP/scales.
In order to notate a sharp or flat on the staff, we used different shaped gem stones (which I also found at the dollar store): an oblong shape. I’m sure you could also just use the different colors to represent the notes with accidentals.
We spent about 10-15 minutes each day on this activity. Each day, we reviewed what was covered the previous day and then added something new to the process (like learning about minor) or tried out other key signatures.

Make A Keyboard Activity
On the first day of camp, I started each theory class with another Susan Paradis activity: Make A Keyboard. I strongly recommend printing this printable onto cardstock paper so it will last longer.
I chose this activity mostly as a warmup activity to get their minds working before moving on to more complex activities. But it’s a good activity to see whether the students remember how the keyboard is laid out without looking. One student had all her black keys in groups of two at first, and couldn’t figure out why she had extra black keys!
I handed each student a small zipper bag with all the piano key pieces inside and told them to “make a keyboard.” This activity took less than 5 minutes to complete. It worked very well as an opening activity!
Stay tuned – more music theory activities from our mini-camp are coming soon! Meanwhile, check out the recent responses to the July Forum topic about piano method books and be sure to contribute your thoughts!


 Rhythm Dictation Game
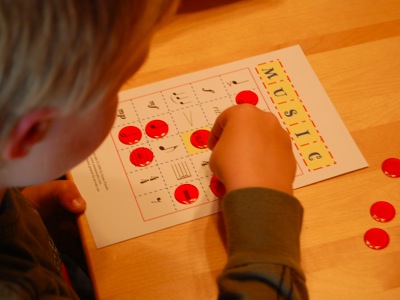
 Music Adventures Board Game
 Susan Paradis’ Music Bingo
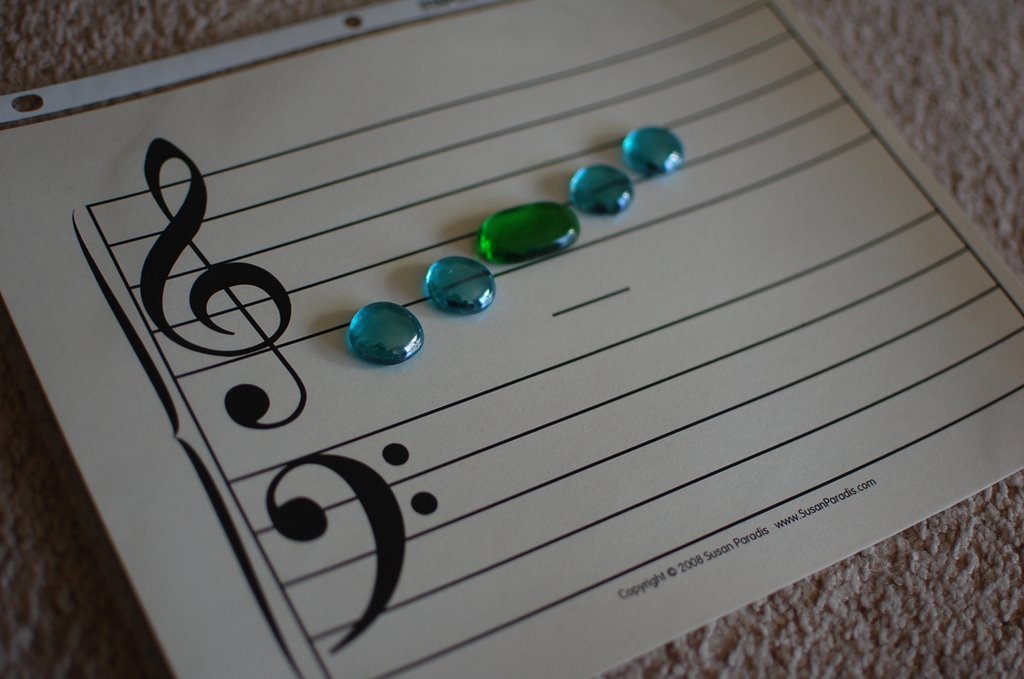


 This month’s discussion topic is about using method books (i.e., Alfred, Faber, Bastien, etc.) in the piano studio: