Group Classes, Printables, Worksheets

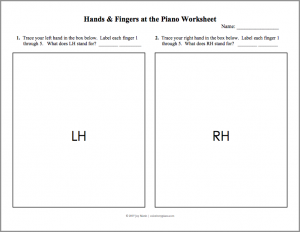
Just Added: Hands & Fingers at the Piano Worksheet

Just added: a new free worksheet, available on the Printables > Worksheets page:

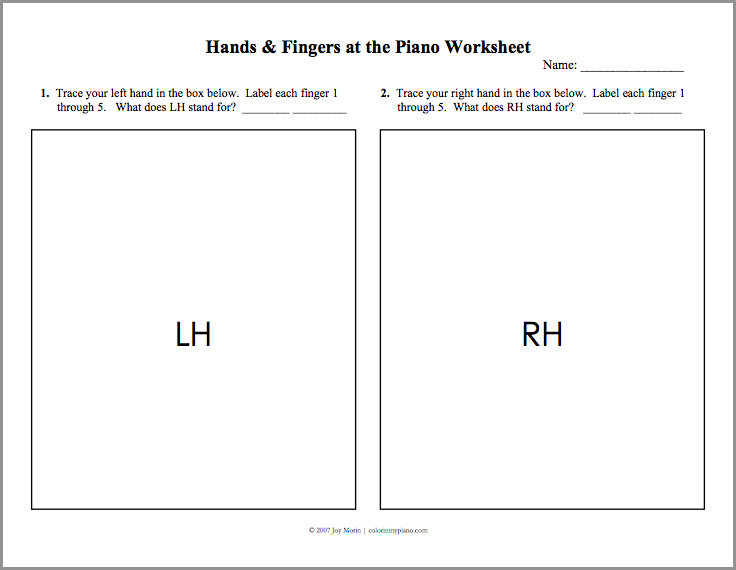
Hands & Fingers at the Piano

This worksheet is suitable for use with new young beginners, either in the private lesson setting or in the classroom piano setting.  (I would not recommend using this worksheet with older students, because there is only room for little hands to be traced on this worksheet!)  In this worksheet, the student is instructed to trace their hands, and label the finger numbers on each finger.

Worksheet Objectives:

  • The student recognizes the left hand versus the right hand.
  • The student learns the abbreviations “LH” and “RH.”
  • The student understands the fingering numbering system for piano (1-5), for both hands.

Click here to check it out now!

Group Classes, Music Theory, Printables, Worksheets

Just Added: Sharps and Flats Worksheet

Just added to the Printables > Worksheets page:

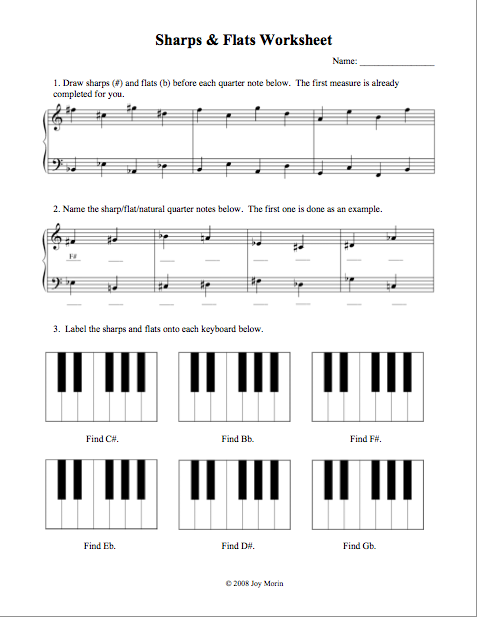
Sharps and Flats Worksheet

In this free worksheet, students will practice…

  • drawing sharps and flats in front of notes on the staff.
  • identifying sharped and flatted notes on the staff.
  • locate sharped and flatted notes on the keyboard.

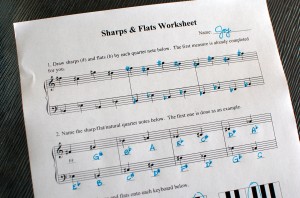
This simple worksheet is a great way to check whether a student understands the concept behind sharps and flats.  I often send this sheet home with private students after introducing accidentals for the first time.  They are instructed to complete it on their own at home, and to bring it back the next week to earn a sticker.  =)

To download, visit the Printables > Worksheets page and scroll down to the S’s for “Sharps & Flats worksheet.”  Enjoy!

Announcements, improving as a teacher, Printables, Teaching Piano, Technology

Celebrating One Year!

After browsing through the colorinmypiano.com archives and — alas! — it seems that we’ve missed our own anniversary!

Here’s a rundown of the history of the colorinmypiano.com blog:

  • It was on February 28, 2009 that I first conceived of this blog and wrote my first post: a welcome and brief statement of purpose.  I found my inspiration largely from Natalie Wickham’s Music Matters Blog and Susan Paradis’ Piano Teacher Resources.  My blog was initially a free wordpress blog, titled “Piano Teaching Blog” (or something similar).  At this point, I was running a successful piano studio of about 20 students out of my parent’s home, and finishing up my Bachelor’s degree in piano performance.
  • In May of 2009, I graduated with my Bachelor’s degree.  Over the summer, my husband and I moved so we could attend graduate school the next year.  Unfortunately, this meant I had to “give away” all my piano students and find new ones.  =)
  • On July 9, 2009, I decided that I was enjoying blogging enough to go full swing: I came up with the title “Color In My Piano,” bought my own domain name and a year’s worth of web hosting, and gave the site a whole new look. Continue reading “Celebrating One Year!”
Games, Group Classes, Music Camps, Music Theory, Printables, Teaching Piano

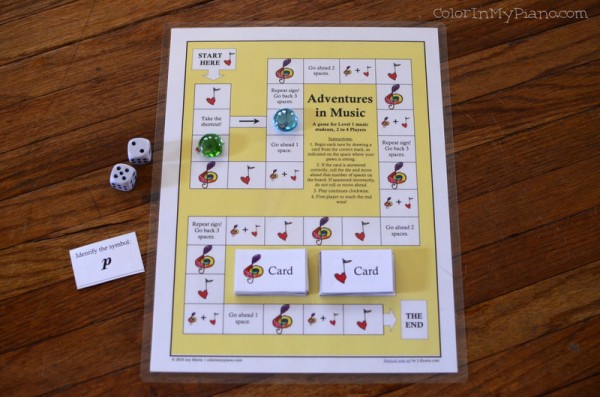
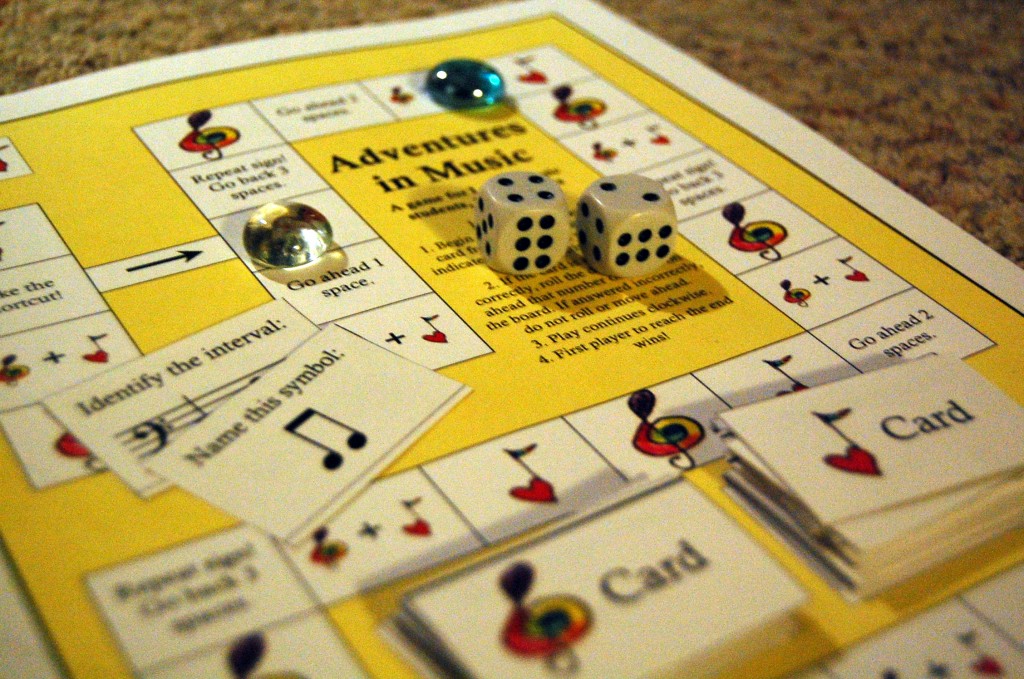
Just Added: Board Game “Adventures in Music”

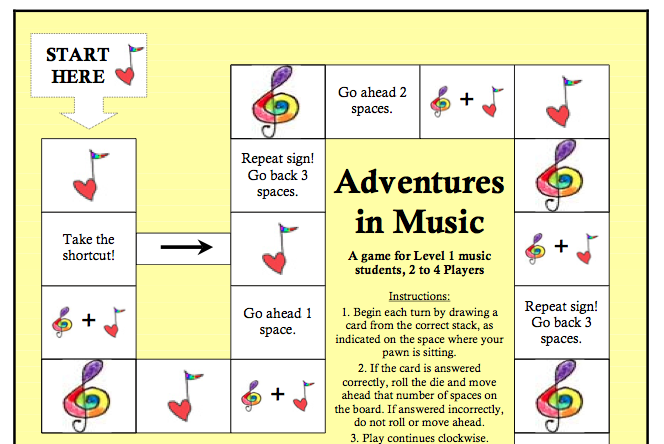
Just added to the Printables page: a free piano-bench-sized board game for music students, called “Adventures in Music”!

DSC_20130323_120222

I am so thrilled to be offering this game on my website.  This is my first attempt at creating a music game for students, and I’m quite excited about the results.

Continue reading “Just Added: Board Game “Adventures in Music””

improving as a teacher, Printables, Teaching Piano

Incorporating Improvisation | Part 5c in the series

This is a continuation of the series on the topic: incorporating improvisation into private piano teaching.  I had originally planned to post all 4 steps into one post, but the post would be too lengthy.  So the topic “Incorporating Improvisation” is being divided into 4 separate posts:

  1. Develop Related Skills
  2. Create an atmosphere conducive to improvisation
  3. Use improvisation as a way to introduce new concepts
  4. Improvise using a combination of learned concepts

Today, we are discussing step 3: Use improvisation as a way to introduce new concepts.

3. Use improvisation as a creative way to introduce new concepts.

The point is, improvisation is not a separate identify from repertoire learning, theory, ear training, or technique.   Connections should be made between what is being learned in the method books to what they are improvising.  Improvisation then becomes a useful tool in the lesson for learning and reinforcing concepts being taught, and thus building the connection between theory and practice.

For example, let’s say that I have a student in the Alfred method book, and we just finished learning about the difference between 2nds and 3rds.  We taught about the difference between the two, and even sight-read through a few pieces that utilize 2nds and 3rds.  Now it is time to improvise using 2nds and 3rds!  We could create two short improvisations based on only 2nds and only 3rds (this would be the goal of the session), and then we could try making an improvisation that uses both.  If the student is able to improvise using 2nds and 3rds as instructed, then I know that the student truly understands what 2nds and 3rds are and what the difference between them is.

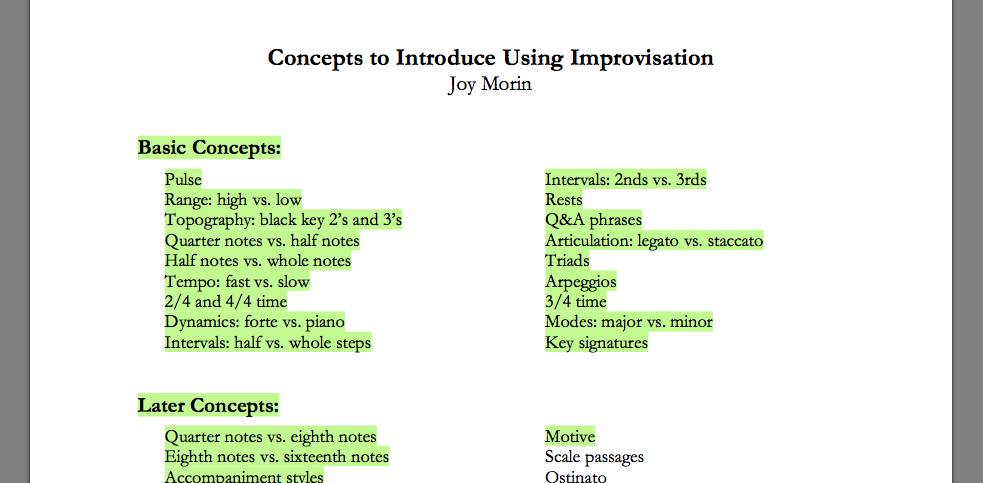
With a more advanced student, we could improvise ABA form or even sonata-allegro form, if they are working on repertoire in those forms.  Other concepts for more advanced students could include ostinato, motive, sequence, sixteenth notes, etc.  For a listing of more ideas, see the Concepts to Introduce Using Improvisation pdf available on the Printables > Other Resources page.

  Concepts to Introduce Using Improvisation (53.5 KiB, 17,497 hits)

Coming up next: part 5d of Incorporating Improvisation into the piano lesson.

Be sure to check out the rest of the posts in the series:

Series: Incorporating Improvisation into the Piano Lesson

  1. Creativity in the Piano Lesson – Introductory musings.
  2. Top 3 Obstacles when Teaching Improvisation
  3. A Brief History of Improvisation
  4. The Value of Improvisation
  5. Incorporating Improvisation:
    1. part a
    2. part b
    3. part c (now viewing)
    4. NEXT: part d
  6. 3 Benefits of Incorporating Improvisation (coming soon)
improving as a teacher, Printables, Teaching Piano

Incorporating Improvisation | Part 5a of the series

Now to the heart of the discussion!  We’ve already covered some common obstacles encountered when trying to incorporate improvisation, and we’ve briefly discussed the history and the value of improvisation.  Now let’s discuss a practical way to incorporate improvisation (non-jazz improvisation, in particular) into the piano lesson.

There are 4 steps in the method I am proposing for incorporating improvisation.  I had originally planned to post all 4 steps into one post, but the post would be too lengthy.

So the topic “Incorporating Improvisation” will be divided into 4 separate posts:
  1. Develop Related Skills
  2. Create an atmosphere conducive to improvisation
  3. Use improvisation as a way to introduce new concepts
  4. Improvise using a combination of learned concepts

Today, we are discussing step 1: Developing Related Skills.

1. Develop Related Skills

In order for incorporation of non-jazz improvisation to be successful, it is extremely helpful for the student to have developed (or be developing) the following skills:

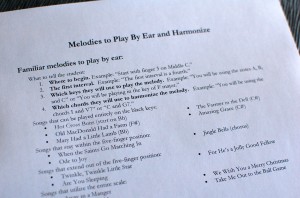
  • Playing by ear — will help the student learn how to play what they hear in their mind’s ear, which is essential to improvisation.  For a list of melodies to assign students to practice playing by ear, see the Melodies to Play By Ear and Harmonize pdf, available on the Printables > Other Resources page (scroll down to the M’s).
  • Harmonization — will help  increase the student’s understanding and awareness of harmonic progressions.  Even young beginners can harmonize, using just a single-note bass line of the tonic and dominant pitches.  For a list of melodies to assign students to practice harmonizing, see the Melodies to Play By Ear and Harmonize pdf, as mentioned above.
  • Transposition — will help students understand how keys and key signatures work, so they can improvise within a particular key, and in a number of different keys.  Also helps them understand the difference between major and minor, which they can utilize to create different moods in their improvisations.
  • 5-finger patterns, scales, arpeggios, cadence patterns, chords in all inversions, etc. (in all major and minor key signatures) — These are exercises that teachers should already be assigning their students, but I think it’s important to bring them up here in connection with improvisation.  If the student still struggles with getting around the piano, improvisation will likely be difficult.  The more comfortable the student is with playing various configurations of notes on the piano, the easier it will be for the student to “get beyond the notes” and focus on things like expression, mood, and telling a story with their music.

Each of the skills mentioned above can be taught gradually to the student, in accordance with their level of playing.  For example, beginner students should be assigned simple tunes to play by ear that can be played entirely on the black keys, and gradually work up to tunes that can be played on the white keys.

Coming up next: part 5b of Incorporating Improvisation into the piano lesson.

Be sure to check out the rest of the posts in the series:

Series: Incorporating Improvisation into the Piano Lesson

  1. Creativity in the Piano Lesson – Introductory musings.
  2. Top 3 Obstacles when Teaching Improvisation
  3. A Brief History of Improvisation
  4. The Value of Improvisation
  5. Incorporating Improvisation:
    1. part a (now viewing)
    2. NEXT: part b
    3. part c (coming soon)
    4. part d (coming soon)
  6. 3 Benefits of Incorporating Improvisation (coming soon)

Printables, Studio Business

Make Business Cards for Your Music Studio

Having business cards on hand is a convenient and professional way to give your contact information to potential students and their parents.  Here’s a simple, clean template for making your own business cards for your music studio!
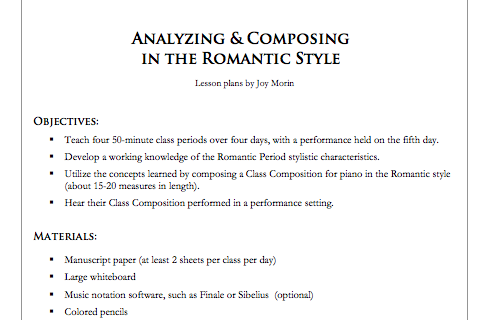
Printables > Studio Business > Business Cards Template for Music Teachers

This template is a Microsoft Word (.doc) file, containing a page of 10 business cards, which you can edit to fill in with your name and contact information.  Then all you have to do is print them onto card-stock or other professional-looking paper and cut them apart.  Have fun!

Announcements, Composition, Group Classes, Music History, Music Theory, Printables, Worksheets

Just Added! Lesson Plans: Analyzing & Composing Music in the Romantic Style

Picture 2Just added to the Printables > Lesson Plans page:

Lesson Plans & Worksheets: Analyzing & Composing Music in the Romantic Style 

A few months ago, I used these lesson plans during a piano camp where I taught Theory & Composition classes.  This camp is unusual in that it gives the students a chance to work on ensemble music with their fellow campers.  In addition, all the ensemble music are original compositions — composed just for our campers.

In the lesson plans I made, I tried to incorporate both the emphasis on composition and the topic of the Music History classes (taught by another instructor; this year, focusing on the Romantic Period).  So, this year’s lesson plans are all about learning how to compose music in the Romantic style.  By the end of the week, the class had created a Class Composition for piano which was performed for all to hear at the camp recital!  The pieces were humorous, yet surprisingly sophisticated.  Perhaps later on, I’ll post an example of a composition they created, if that would be helpful to anyone.

The lesson plans are designed for classes of 4 – 6 students ranging in ages about 9 to 15, but I’m sure they could be adapted to suit other ages and groups of students.  Enjoy!  Let me know how they work for you.

  Analyzing & Composing in the Romantic Style - Lesson Plans & Worksheets (1.0 MiB, 36,189 hits)

Printables, Teaching Piano

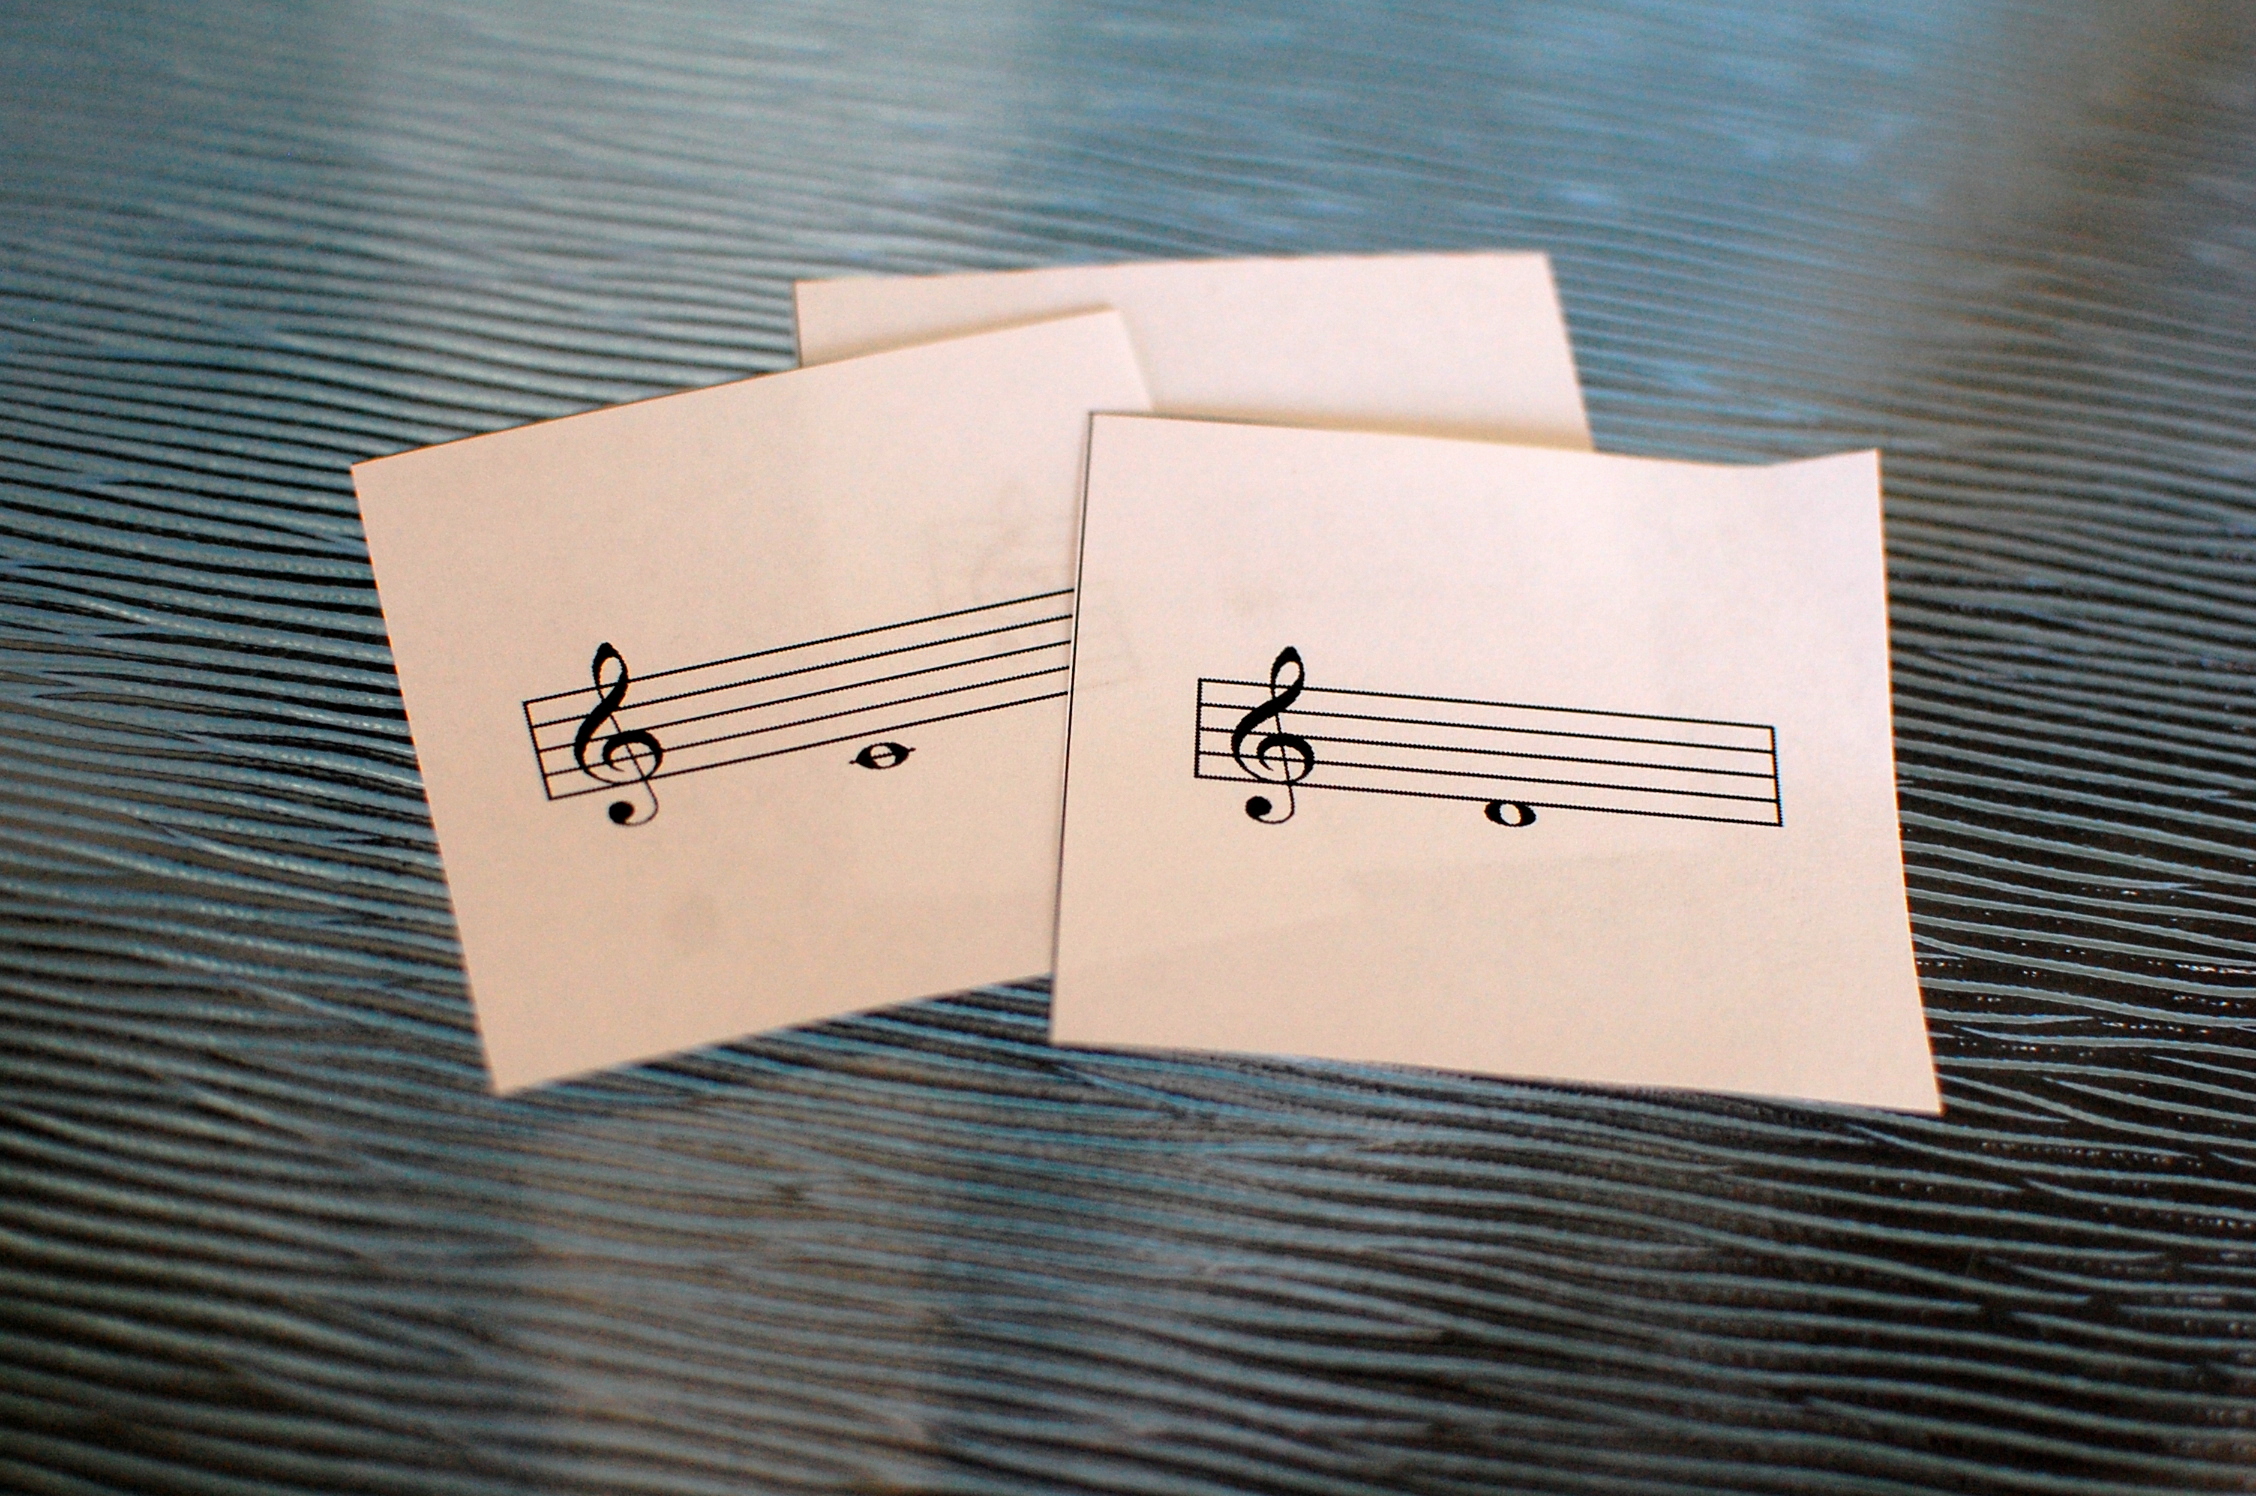
Just Added! Flashcards: Naming Notes (Middle C Position)

Just added to the PrintablesOther Resources page:

Flashcards: Naming Notes (Middle C Position)

There are two pages in this file:

  • Page 1: Contains 10 flashcards for reinforcing the notes of the Middle C position (i.e., Bass F through Treble G).
  • Page 2: Contains the “answers” to the note name flashcards, to be printed onto the backside of Page 1.

This set of flashcards is designed for the absolute beginner piano student.  They are pretty self-explanatory.  You can either ask the student to name the note they see on the flashcard, or ask them to play it on the piano, or both.  Enjoy!

Printables, Teaching Piano

Just Added! Flashcards: Melodic Patterns 1 & 2

Just added to the Printables > Other Resources page:

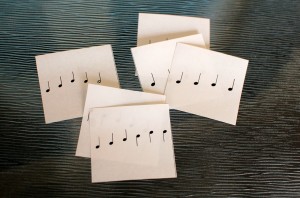
  • Flashcards: Melodic Patterns 1 & 2

These flashcards (pictured at right) are my absolute favorite.  They have a variety of uses, mainly for beginner piano students:

  1. For beginner students who understand quarter and half note rhythms: Ask the student to simply clap the rhythm they see.
  2. For beginner students who are learning to read pre-staff notation: Ask the student to play on the piano the pattern of notes they see on the flashcard.  You will need to show the beginner which note to start on, and which finger they should use.  (e.g., “Play this pattern, beginning on E with finger 3.” )  This activity helps beginners build the ability to read whether melodic steps are moving upwards or downwards.
  3. For students who are familiar with major 5-finger patterns: Ask the student to play on the piano the pattern of notes they see on the flashcard, but specify a particular key you’d like them to play in.  You may need to tell them what their first note will be.  (e.g., “Play this pattern in the key of A Major.  Your first note will be C#.” )   Then ask them to transpose the pattern to a number of other keys.  (e.g., “Now try playing the same pattern in the key of D minor.” )

Let us know if you find other creative ways to use the Melodic Patterns flashcards!   =]