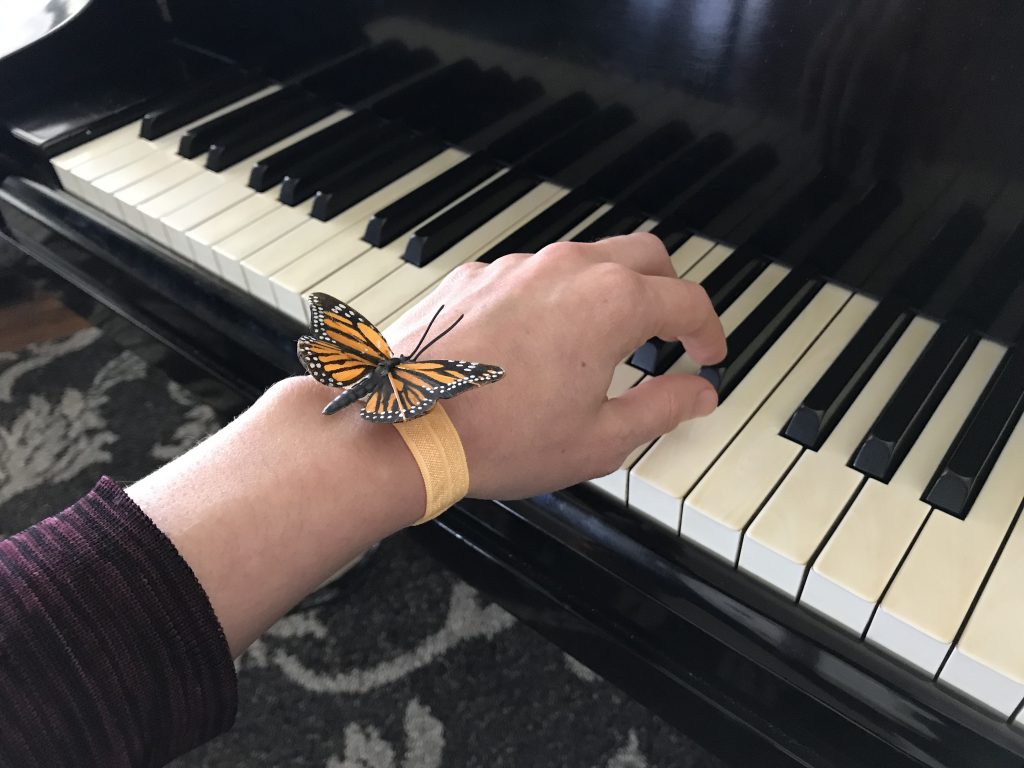
I enjoy using a butterfly band prop — credit to Irina Gorin — to help my beginner students develop a physical approach to the instrument that is comfortable and effective for ideal sound production. In Irina’s words, the butterfly exercise helps students experience “relaxation of the hand/wrist, a floating arm, and a gentle touch”.

Today, I thought I’d share how I make these bands for my students — including an improvement I came up with during the most recent round of butterfly-band-making. 🙂
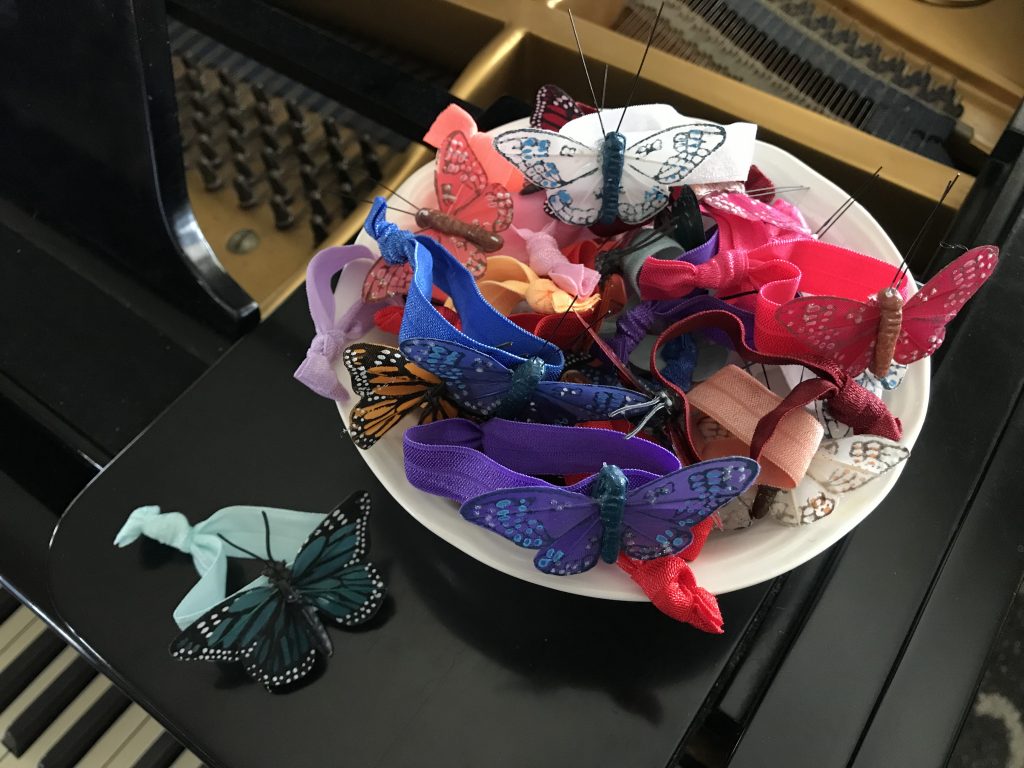
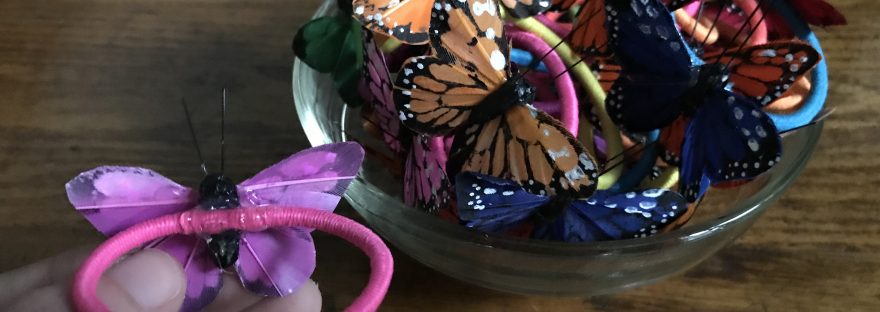
Here’s a picture of the first batch of butterfly bands I created. I found packages of the butterflies in the floral aisle at the craft store (these from Amazon look similar), trimmed off the wires with scissors, and used a hot glue gun to attach them to hair elastics. As you can see, I had to use quite a bit of glue to ensure that the butterfly was attached securely to the hair elastic.

I gave out these butterfly bands to the teachers who attended my Piano Teacher Retreat last summer, too! (Our theme last year was piano technique. Stay tuned for the announcement of this year’s theme!) 🙂

When I needed to make another batch of butterfly bands, I decided to see if I could improve the design.
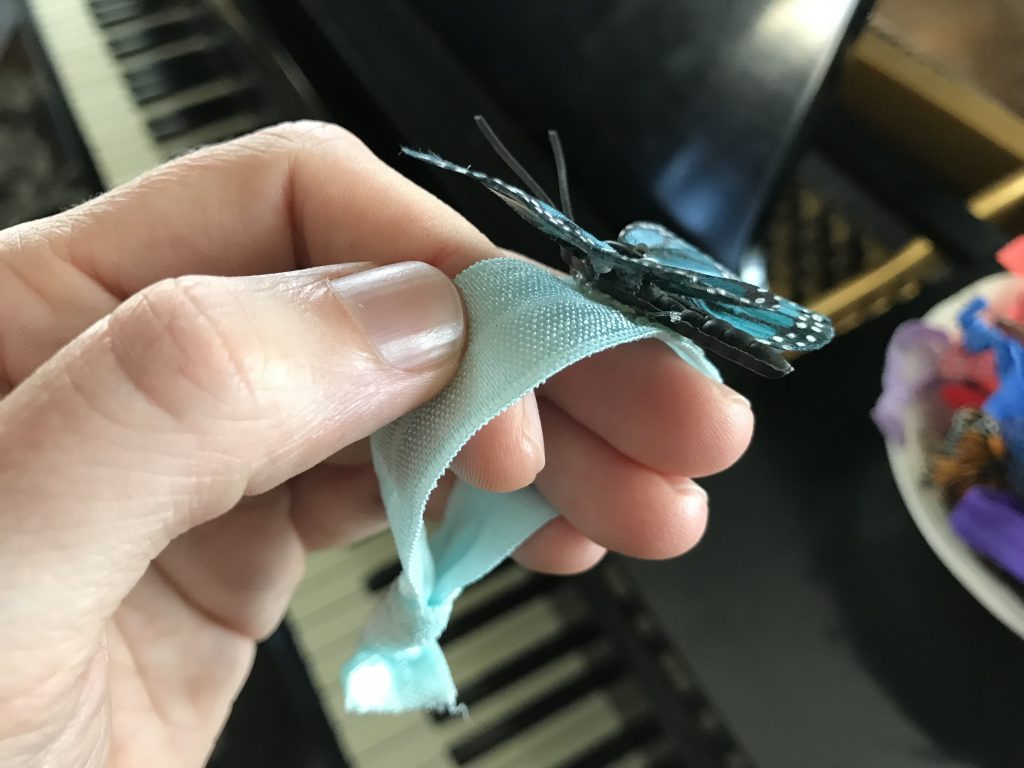
I discovered this alternative style of hair tie (pictured below) on Amazon. I figured this would not only be easier for students to slip onto their wrists, but the hair tie would provide more surface area for attaching the butterfly with the hot glue gun.

It worked perfectly. I’m pretty happy with how this batch turned out!

I love being able to let students pick out their own butterfly band to take home with them to keep for practicing.
Here’s a video example of how Irina uses the butterfly during her early lessons. (Note: in this video, Irina is using an earlier “ring-style” design of the butterfly.)
Here’s another video example showing an adorable 5-year-old (wearing new socks!) working on the relaxed arm/hand.
Other teachers have posted their own butterfly exercise videos in Irina’s Facebook group (click here to request to join).
I hope this post inspired you to create your own butterfly bands, or to consider other ways how you can help your beginners develop a healthy technique from the first lessons!
GIVEAWAY:
Just for fun, let’s have a giveaway! To enter, leave a comment on this post below sharing a way you help your beginners develop ease at the piano from the first lessons. On Friday, March 1, 2019, I will randomly select a winner who will receive THREE of my handmade butterfly bands in the mail!


I use a lot of Irina’s ideas as well, so not sure it’s much new, but the one that’s been the lightbulb for my kids lately is demonstration and manipulation of the different ways the wrist can move!
Lovely idea Joy!
Excellent idea! Thank you for your wisdom and encouragement to challenge us to use our gift of teaching to the fullest?
One of the activities we do to practice throwing the fingers and using good alignment on Day 1 is black key improv. They are frequently surprised at how good they can immediately sound (unless they know the pentatonic scale already)! We also refer to throwing the fingers as the “baby waving bye” and joke about so many people in our age range having babies (because I teach a lot of millennials/college kids–if it’s not their friends, it’s their extended family members!). Babies have a lot to teach about healthy technique because they’re such uncoordinated little blobs that they go for the easiest possible motions–like the finger throw 😉
I love the butterflies, mine are getting a little worn down! I also like using pencil erasers for firm finger tips (not breaking the first knuckle) and Diane Hidy’s squishy lady bugs for hand shape.
How do you use the erasers to fix their first knuckles? Desperate for a secret to success. 🙂
The pencil eraser idea comes also from Irina Gorin! Here’s the link to a video example: https://www.youtube.com/watch?v=qVDl7-Th46Q
What a clever idea! I need one of these for my own son!
I love this! What a great tactile and visual experience for the students. I think I enjoy teaching beginners most of all. “I have new socks” — haha so adorable!
I have them imagine that they are holding a tennis ball in their palm so they don’t collapse their wrists.
I have students pretend they are holding a bubble. It gives them a nice round hand shape, and it encourages a relaxed feel in their hands, otherwise they will pop the bubble!
I made up a “Caterpillar Crawl” technique motion exercise with Mozart’s Rondo alla Turca so they can practice different motions that are used at the piano (wrist circles, thumb tucks, float offs etc.) in a fun way off the bench. More details are on this post at my piano blog. http://heidispianonotes.blogspot.com/2015/06/teaching-piano-technique-motions.html#more
I’ve also taped a popsicle stick to their wrist like “airplane” wings so they can notice the wrist rotation movement more easily, but I think attaching the stick to a hairband would be even better than tape! Thanks for sharing this idea.
Great ideas, Heidi! Thanks for sharing these!
I love this idea! I have quite a few littles, and since I am just starting my teaching career, I need advice and resources like this!
I like to introduce the piano to beginners through movement. I find it helpful to use a large floor mat, encouraging students to step on black keys, then white keys. Using other props, such as cardboard keyboards, glockenspiels, and small ‘finger drums’, help me explain touch, key arrangement, and care of instruments.
I use the bubble image for hand shape; and Irina’s idea of using a click pen for each finger. I like the idea of the butterfly!
I get students to relax arms by their sides and pretend they are gorilla arms, then bring them to the piano to find their hand shape. Also use a ladybug shaped foam toy to help them check their hand shape.
I use the Fingercise cup (from Teach Piano Today) to help students strengthen and round their fingers and have also found a clothes peg helpful as well. Hope it’s all right to share the link to how to make the Fingercise cup0 https://www.teachpianotoday.com/2015/03/09/
Yes, of course — thanks for sharing the link, Ann!
Love the butterfly idea and many of Irina’s ideas. I’m looking forward to making and using them soon.
Diane
I ask students to imagine holding/ hugging a big beach ball sitting in front the piano, then flip the hands with palms down before placing hands on the keys gently.
Love the imaginative tactile and visual prop! Is there another object besides a butterfly that might suit boys more?
I use the image of a rainbow to teach fluid arm movement. Also, I pretend to tie a helium balloon to the wrist that makes the arm float up and down. Another is having the student pretend to be a marionette, and I’m the puppeteer, lifting the arm from an imaginary string attached to the wrist. I also will loop an actual grosgrain ribbon under the wrist and lift up the arm with the ribbon. Then we switch. This gets students to sense their arm weight.
Actually, I find that my male students enjoy the butterfly just as much as the females! 🙂
Aloha Joy! Thank you for your blog and these Amazon links. You are so Young and vibrant with great ideas.
What a cute idea, I’m still new to Irina’s method, but I’m fascinated and can’t wait to try some of her ideas.
My Piano ped teacher used the butterfly idea to tell me about helping kids and their wrists! I have a student now who has such stiff wrists that we use the butterfly and another who loves jellyfish so we talk about how the jellyfish head is loose and supple!
This is wonderful! I have a few students in mind who would respond very well to the butterfly technique. I use the dolphin Iwako eraser and we pretend the dolphin is “jumping out of the water, going up an octave and then doing a nose dive down to the next matching key”. We do this all the way up the keyboard, C to C to C, etc.
I use flat erasers with characters on them to help youngest students keep the top of their hands flat while playing. If they are successful keeping the eraser on their hand while playing a short song, they get to keep the eraser! Older beginning students have to keep a quarter on the top of their hand – and they get to keep it!
I use videos of Lang Lang to demonstrate “Willow tree hands”, and then I demonstrate for them.
I love your clever butterfly band idea! The butterfly will fly with the correct movement!
These are so great!
I use Irina’s “Weeping Willow ” arms idea, but I now just call it “heavy arms” – that seems to make more sense to my students. I let them feel how heavy my arm feels and then show them how I transfer that weight to the keys. When they do it they feel theh have accomplished something big!
Beautiful aid, thank you for sharing! With the little ones that tend to tense their hands, I would usually place their forearm ( one at a time ) in between my palms and roll it. It’s kind of a gentle massage, they love it and it does exactly the thing – relaxes their hand 🙂
Alexandra
At the first lesson I find out what they love to do, favorite book, sport, etc. something they get excited to talk about which puts them at ease and I find a way to connect what they love to what we will be learning in piano lessons. I demonstrate a simple song or pattern using correct finger shape and show how my wrist can gently rise and fall while keeping my round fingers close to the keys. Having the butterfly bracelet would reinforce this concept for them??
If I had these/made these i would love the focus they give students on flexibility in the wrist, and keyboard geography, when we talk about hands moving octaves!
I love the butterfly idea. What is in the tiny cup? Silly putty? Goop?
Yes, Irina uses “noise putty” for that prop! Here’s the link to her kit: http://www.irinagorin.com/product/supplemental-kit/
Arms hanging like “heavy wet ropes,” then raise slowly, let fall in lap, then raise slowly to keys.
Hi, I liked the butterfly idea and I am impressed how you are helping out your students with this butterfly idea.