
Back in 2017, I shared my “About Me” Student Profile cards that I hung on the walls in my studio. Now that I am moved back to Michigan and am settled in my new studio, I figured it was time to do something similar again! I love for my students to feel part of a studio community and be able to see each other’s faces, even if only thanks to photos. 😉
And so, I started browsing Pinterest and Amazon to find ideas for various ways to display student photos. In this blog post, I’ll share some of the best ideas I found as well as the resulting photo wall I ended up with for my students. I’ll also share a couple of free printables I created in the process, which you are welcome to use for your own photo wall. Read on, friends!
1. Acquiring Student Photos
My first step was to acquire some recent pictures of my students. Using my phone, I took photos of my in-person students before or after their lessons. I considered taking screenshots of my online students during their lessons, instead decided to just text each parent ask them to send me a photo of their student. I let parents know it didn’t need to be a formal portrait — I just needed the student’s smiling face!
Rather than printing the photos on printer paper as I did for my Student Profile cards a few years ago, I decided to make use of a small Polaroid “Zip” printer I received as a Christmas gift awhile back. This tiny printer prints 2×3-inch photos — so cute! — via an app on your phone.
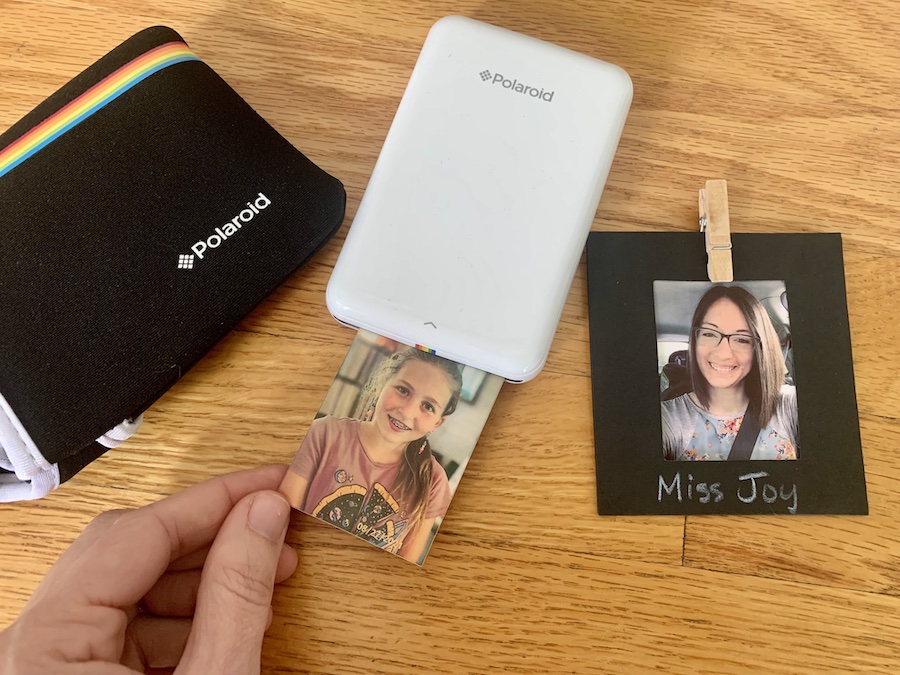
This turned out to be so convenient! I would definitely recommend getting one of these little printers if you’d like to be able to easily print out photos of students for your studio. It’s just so handy being able to do this at home anytime throughout the year when I might accept a new student.
In case you’re interested:
- This is the Polaroid Zip printer I have, but it looks like there is a newer model available here. There are other brands who offer similar printers which I assume would work just as well.
- The link for the neoprene case for my printer (as seen in the photo above) is here.
- The paper used by my Polaroid Zip printer is called “Zink” paper — as in, “zero ink.” Instead of using ink, the printer uses heat to activate the colors in the Zink paper. Any brand seems to work with my printer, as long as it says “Zink” and is 2×3-inch in size. The link to the paper I’ve been buying is here.
A package of 20 photo sheets costs $10, which comes out to about 50 cents per photo. Yes, it would be cheaper if I had the photos printed at the store, but the extra cost per photo is worth it to me because of the convenience factor. Plus, the photos have a cool Polaroid-esque look to them. And the Zink paper becomes a sticker if you peel off the backing, which could be useful depending on how you go about putting your student photos on display.
2. Ideas Displaying Your Photos
I found tons of great inspiration on Pinterest for displaying student photos. Below, I’ll share with you some of my favorites ideas, in case any of these stand out to you. Some are DIY projects, while others are items you can purchase on Amazon.
Side note: The Amazon links in this blog post are affiliate links. Thanks for supporting my blog!
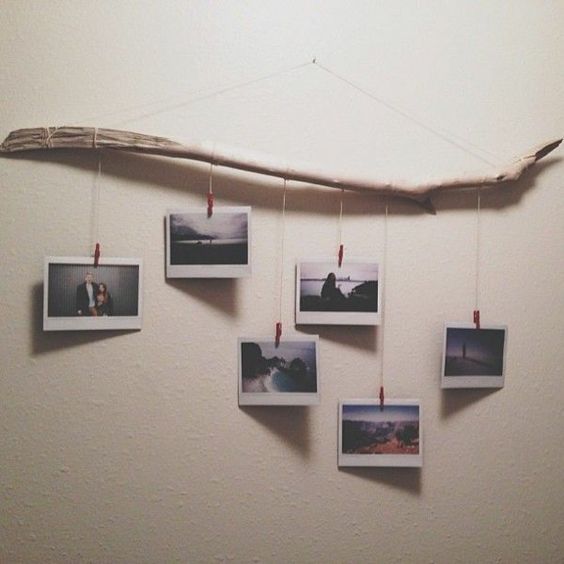
The idea pictured below would be easy to DIY. You just need a stick, some string, and some artistic vision! 🙂
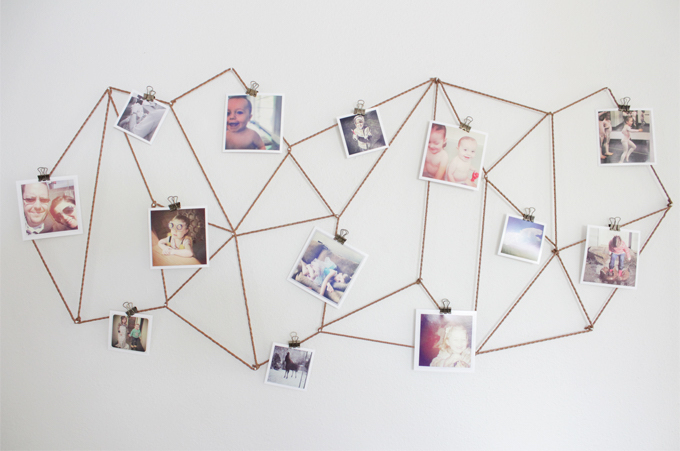
Here’s another interesting DIY project involving small nails, string, binder clips, and again, artistic vision. 😉 Find the full tutorial here.
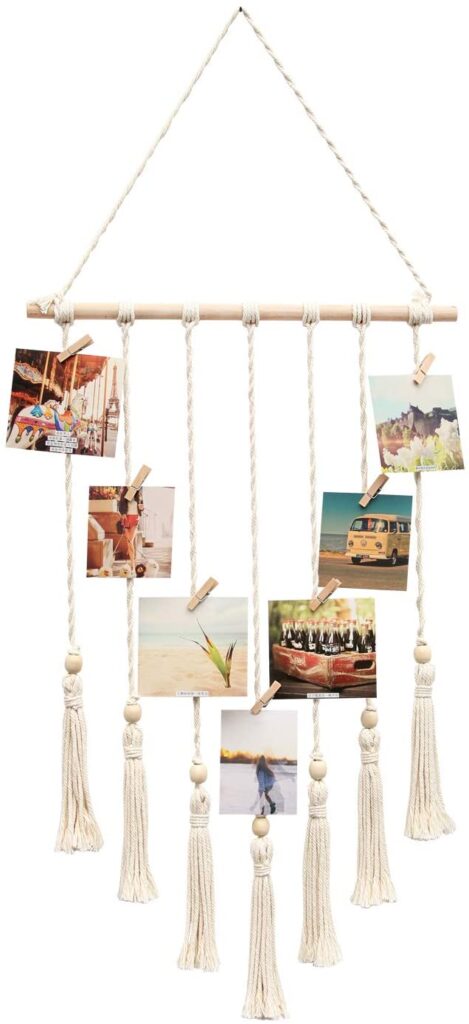
This Boho style hanger with macrame and tassels is available on Amazon here.
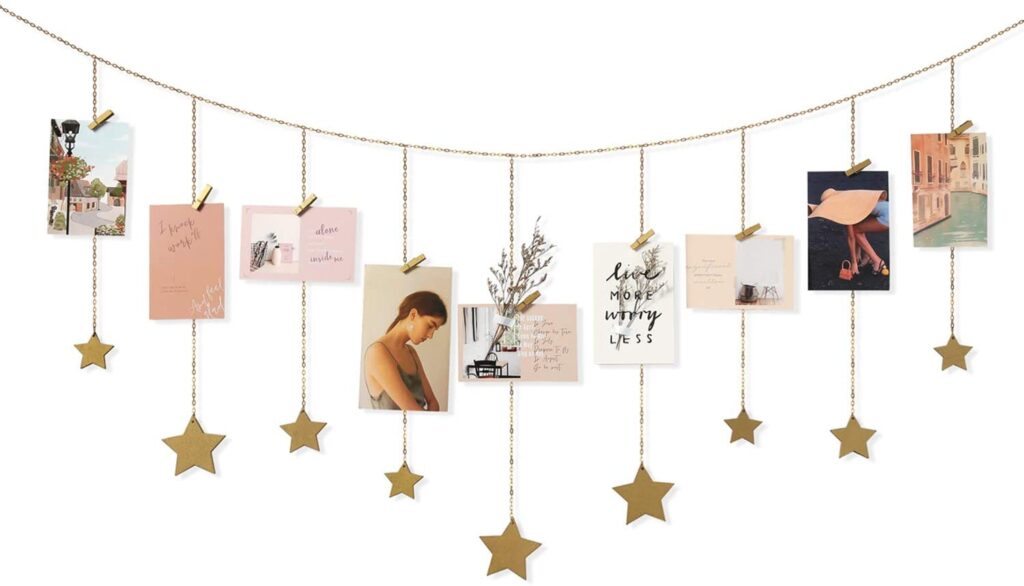
This one uses metal chain with wooden metallic stars, available on Amazon here.
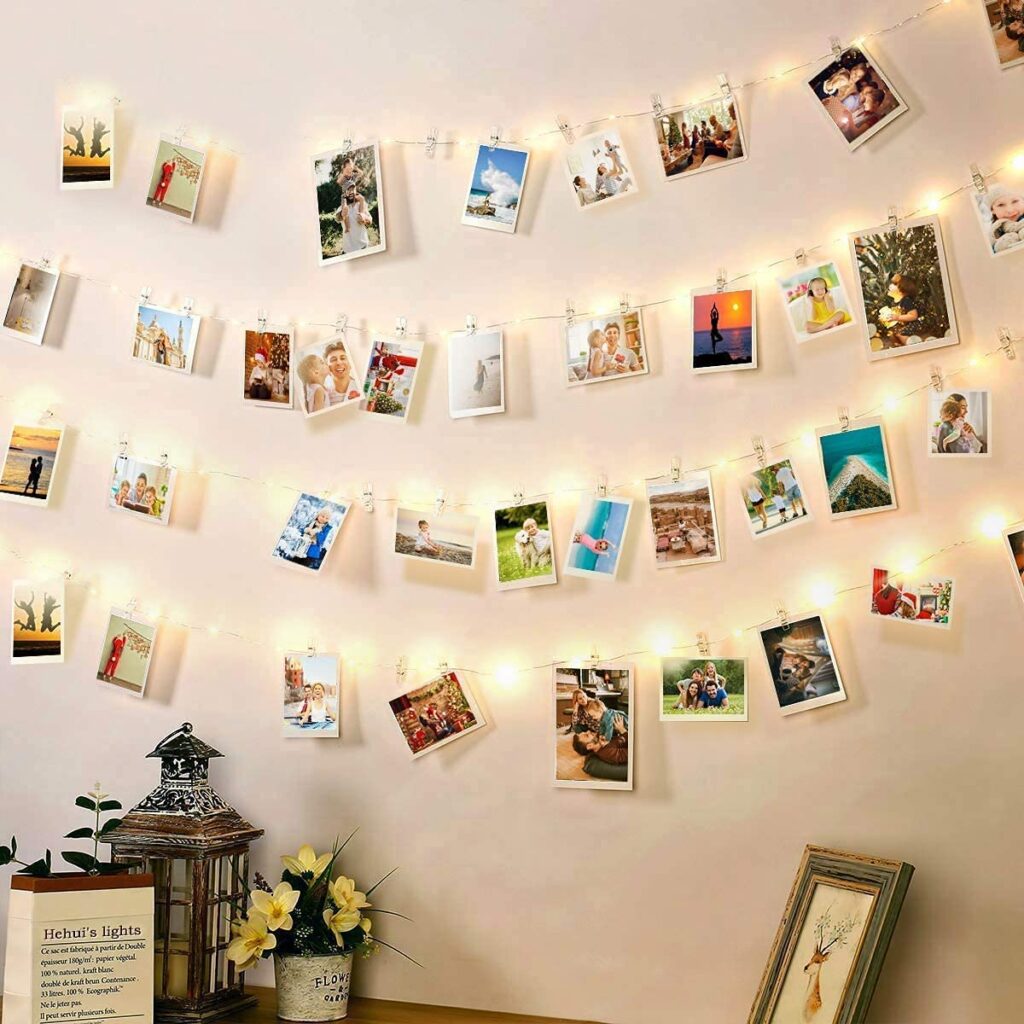
If you have an area in your teaching studio that could use more light, a lighted strand with small clips could be a great option, such as this one here.
This wire grid with clips, here, would look great over a desk or in an entryway. Find other variations here or here.

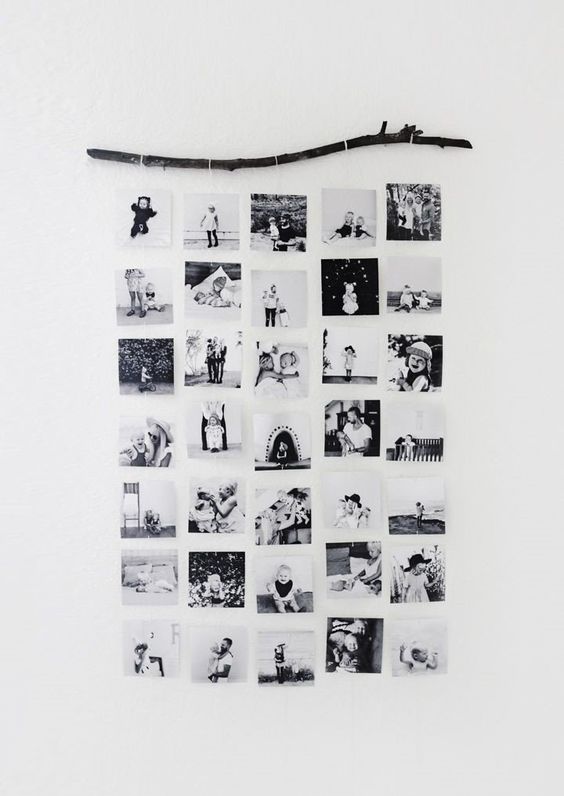
This one, available on Amazon here, uses a couple of wooden pieces and twine. It can be hung with the strings running either horizontally or vertically. I think this one would be easy to DIY, if you are handy with wood!
This final photo is the one that inspired me the most! I couldn’t find the original source for this photo, but I know you can buy cable wire kits on Amazon such as this and this.

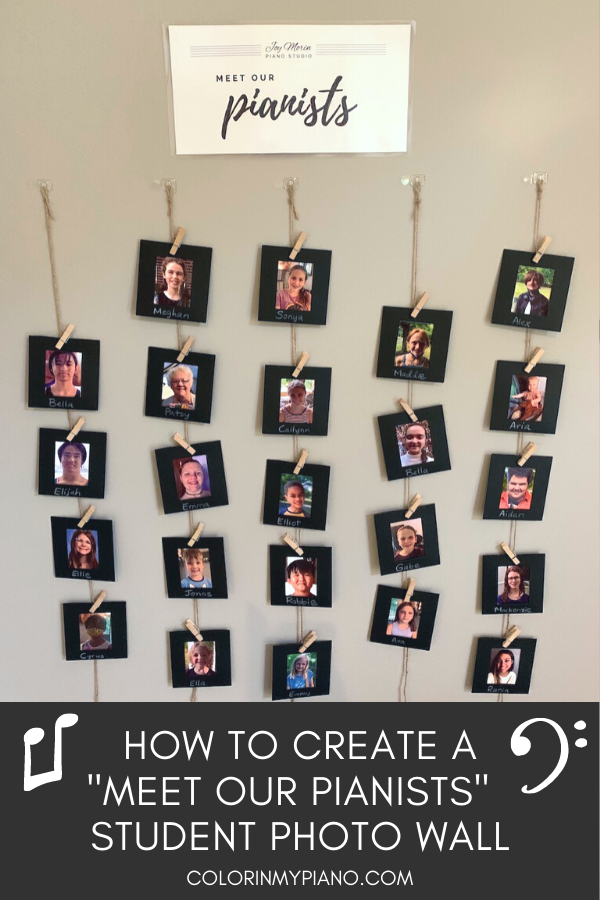
3. My Resulting Student Photo Wall
I hope you enjoyed seeing those inspiring examples from my deep dive on the internet! As I said, I found myself most inspired by the look of the vertical hanging strands in the photo above; however, I ended up creating my own simple DIY version. Here’s a look:
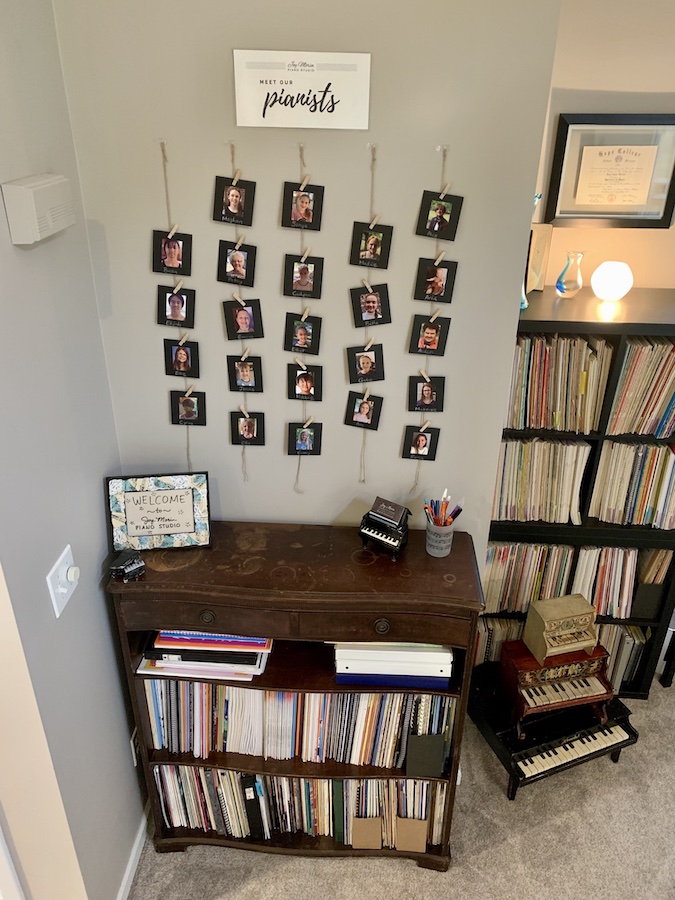
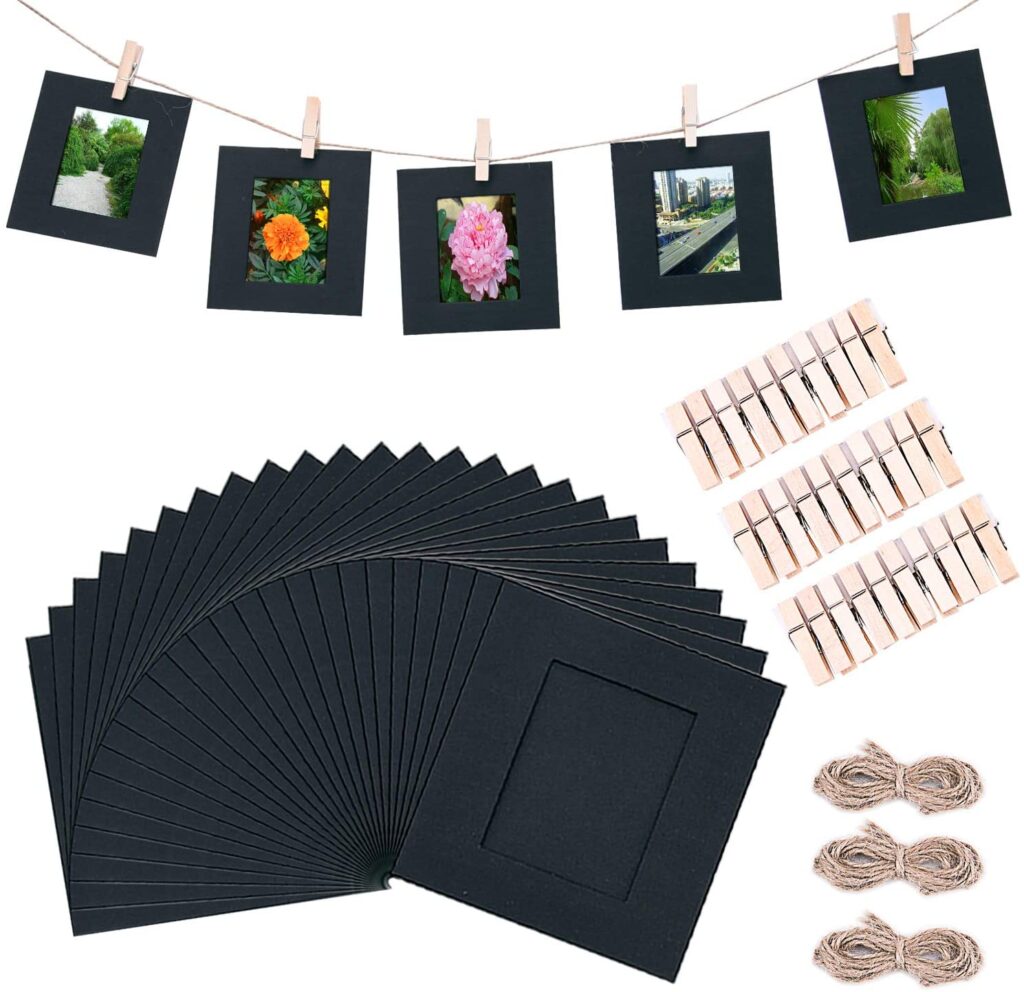
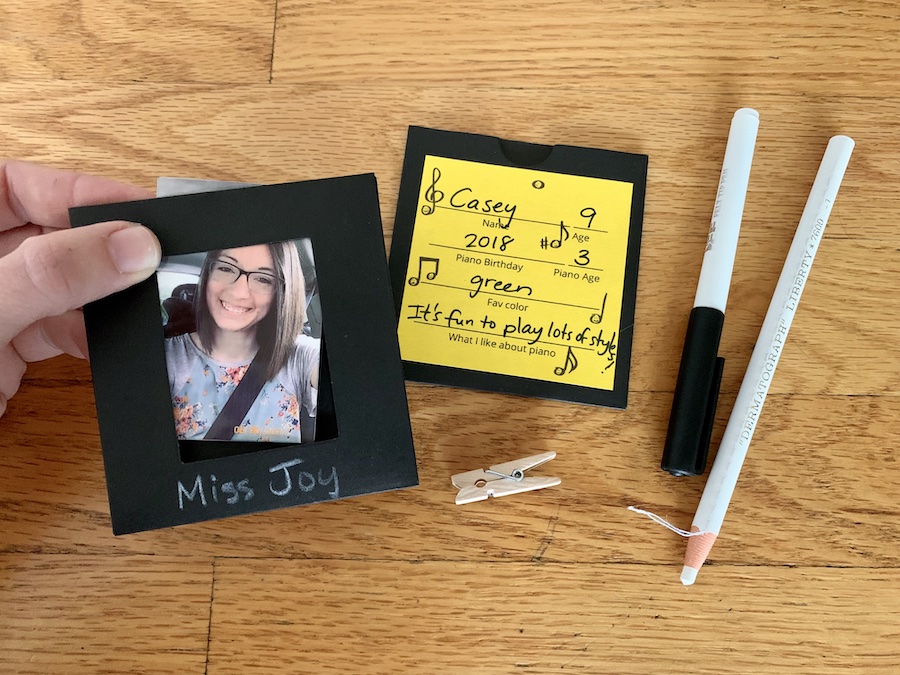
Although I could have clipped the photos directly to the strings, once I saw these black paper photo frames here I decided to go that route. I liked the look, plus I think the paper frames will help prevent the corners of the photos from possibly curling over time. The paper frame kit came with twine string and mini clothespins, which gave me practically everything I needed to complete the project!
Other than that, I just needed a white wax pencil (here) or a silver marker or paint pen (here) to write each student’s name on the paper frame. To hang the strings on the wall, I used small, clear Command hooks (find them here) instead of nails so I wouldn’t have to put holes in the wall. I decided to hang five strands vertically over one of the bookcases in my studio.
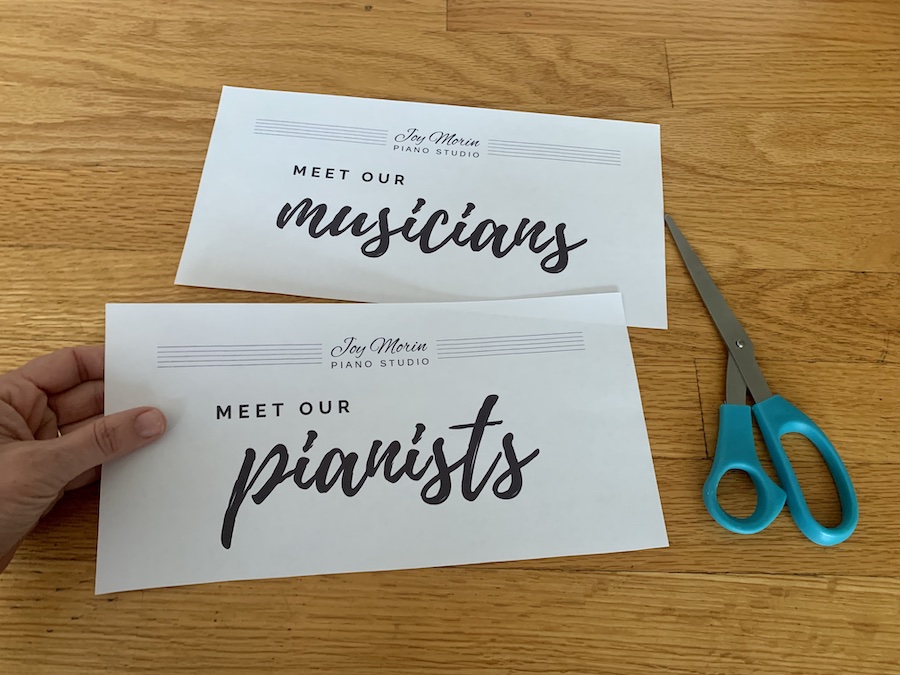
For a final touch, I decided to create a “Meet Our Pianists” sign to hang over the photos. I think this makes the whole display come together!
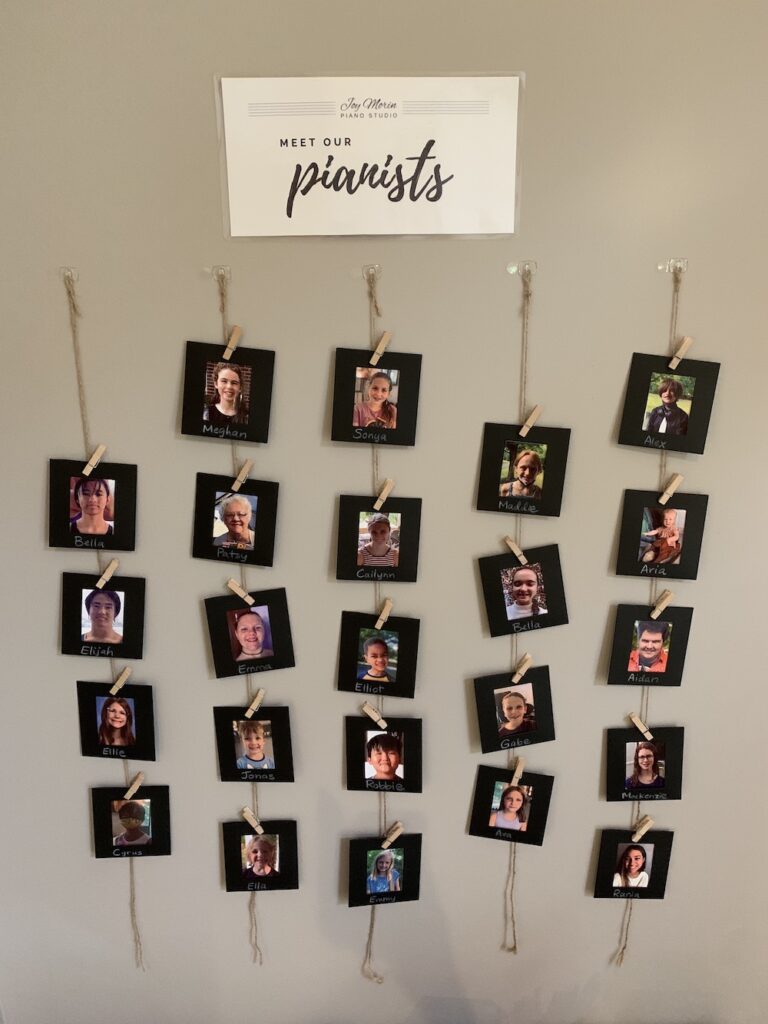
I designed this sign using Canva.com (a great free website for creating graphics, by the way). You can access the editable document I created HERE and then you’ll be able to edit it with your own studio name/logo. On page 2 of the document, I created an alternate sign that says: “Meet Our Musicians” for those of you who run multi-instrument music studios. I printed out the sign, laminated it, and then used poster putty to attach it on the wall.
All in all, this turned out to be a really easy but attractive way to display student photos. I really love seeing all those smiling faces as I enter my piano studio room. And my students have been appreciating the display, too!
4. Student Profile Sticky Notes for Behind the Photos (Optional)
This next step is purely optional.
My idea was for students to write down a little bit of information about themselves that can be placed on the back of their paper frame. Realistically, I’m not sure how often we will be turning the frames around to read what’s on the back. But, filling out the information is a fun thing for the student and I to do to kick off the new school year. I always enjoy learning a little bit more about my students!
For this, I decided to use the magic of printing onto sticky notes. (I’ve blogged all about how to do this here!) On each sticky note, I printed a series of blanks for students to fill out: their name, age, their “piano birthday” and “piano age,” favorite color, and what they love about piano. I also added some playful music notes from my own handdrawn digital clipart collection (available in my shop here).
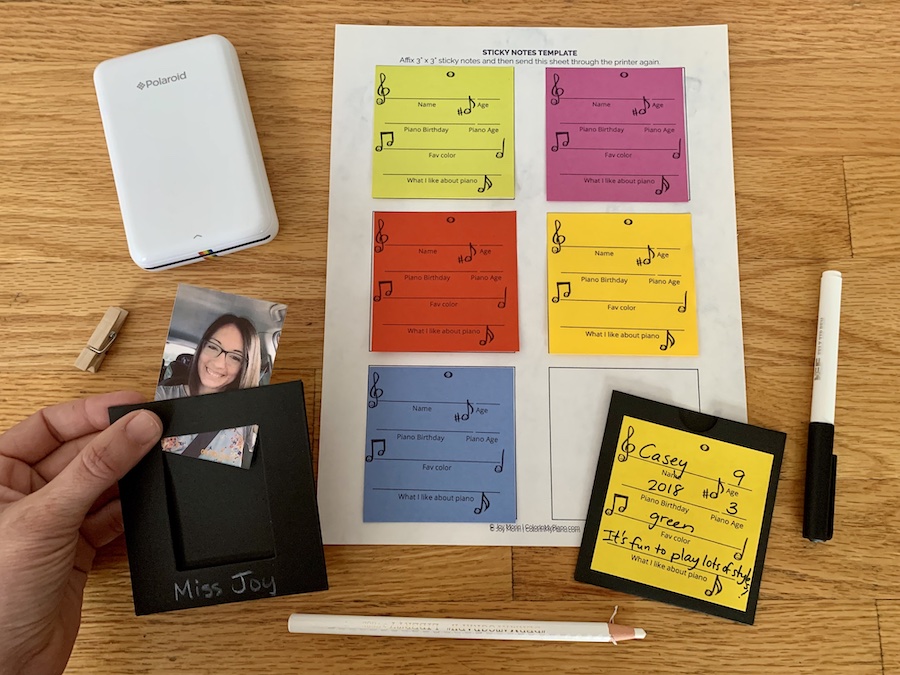
I prepared the printed sticky notes ahead of time, and then allowed students to choose a color and fill out the information on their sticky note. The 3×3-inch sticky notes fit perfectly on the back of the paper frames I bought. Here’s a closer look:
As I said, this step is totally optional. But I’m happy to share the sticky note template I created for this, in case you’re interested in printing your own! Download the PDF by visiting the Printables > Other Resources page and scrolling down to “Student Profile Sticky Notes.”
 Student Profile Sticky Notes (191.3 KiB, 498 hits)
Thanks for sticking with me to the end of this blog post! I hope you enjoyed hearing about my recent project and perhaps gained some inspiration for creating your own student photo wall. Anytime is a great time to do something like this, but especially at the beginning of a new school year!
Your turn: Do you display photos of your students in your studio? Have you found a good way of going about it? I’d love to hear about it — please share in the comments.