
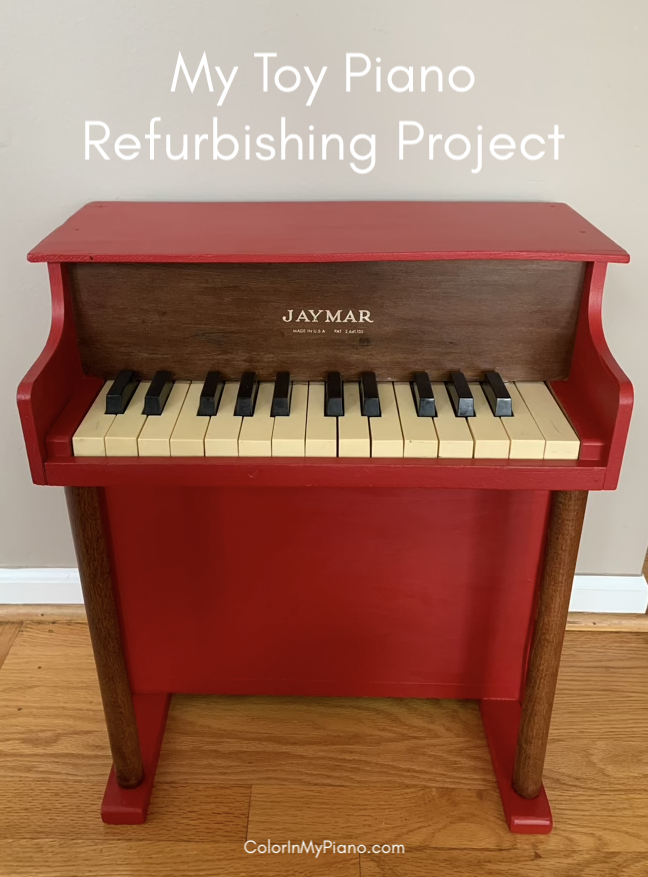
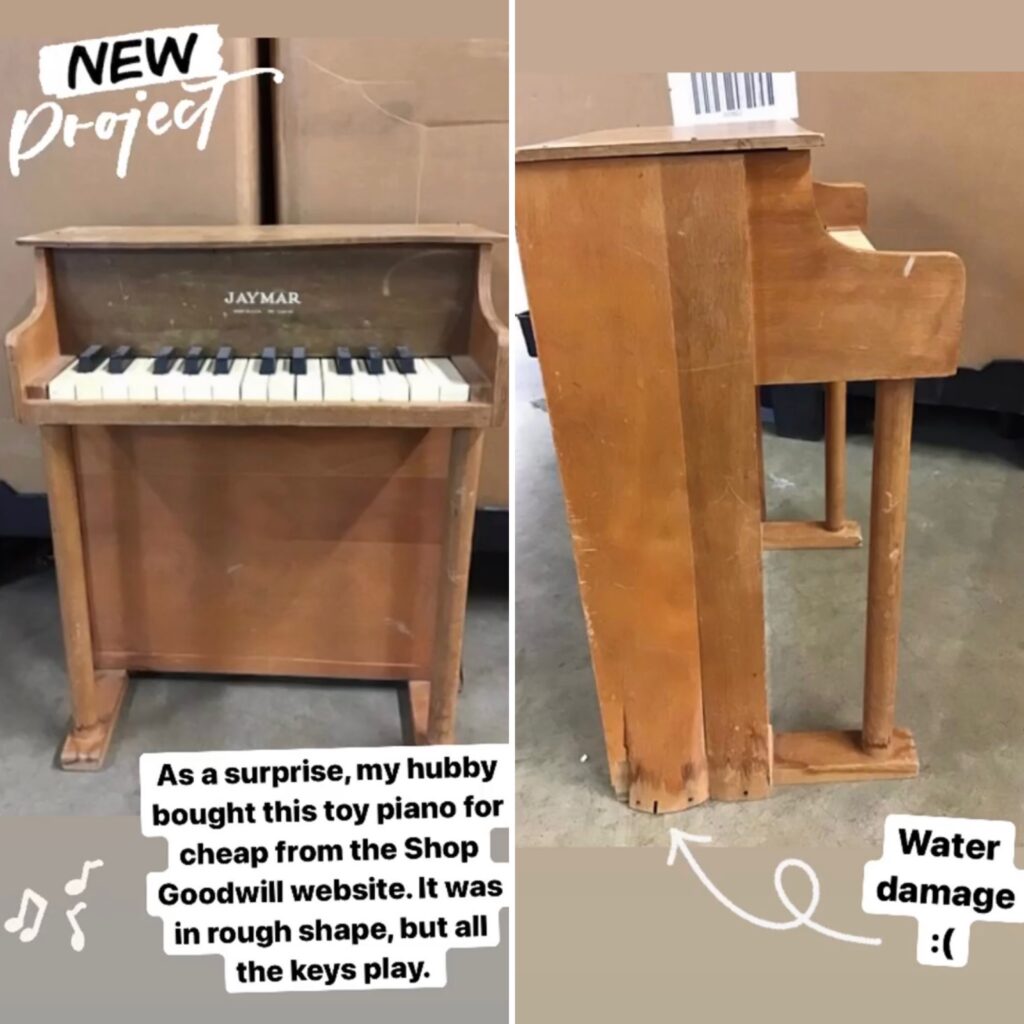
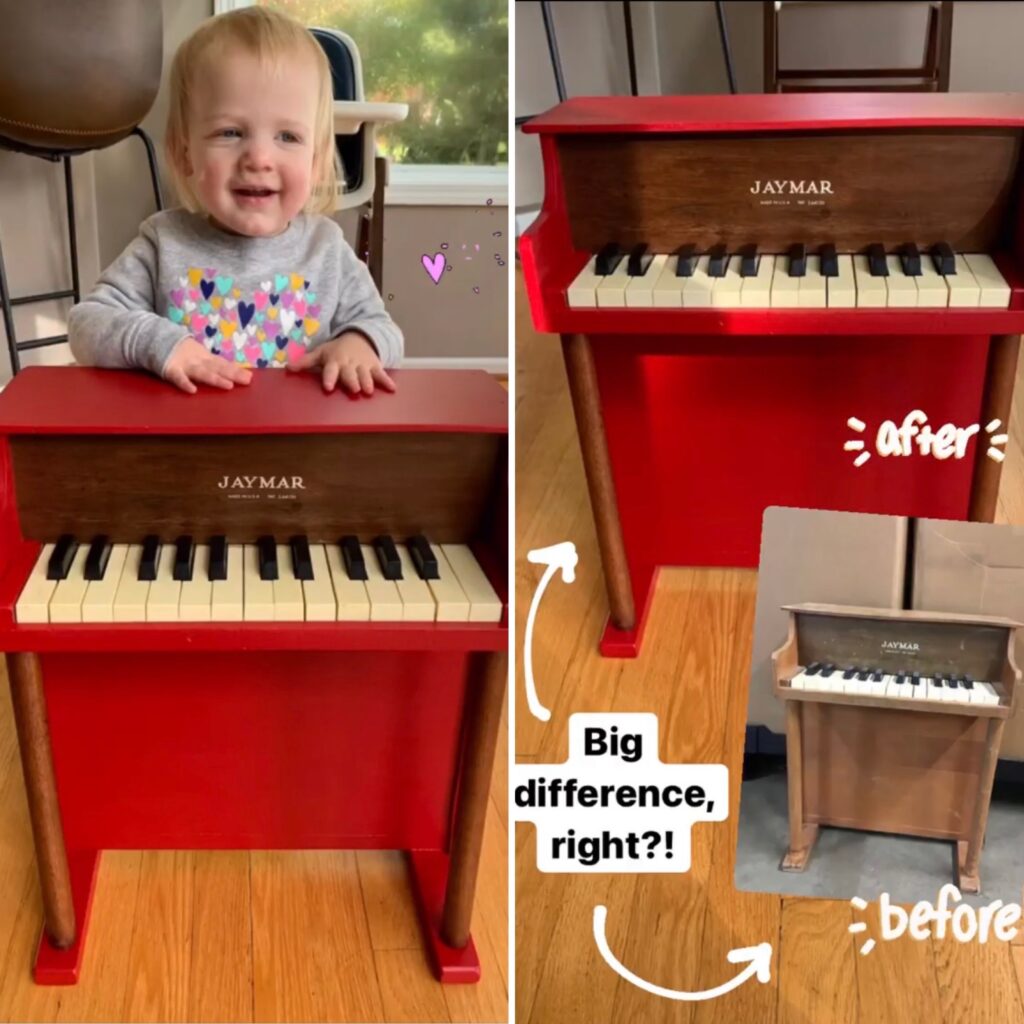
Recently, I’ve been enjoying a fun DIY project: refurbishing a vintage Jaymar toy piano! My husband saw it for sale on the Shop Goodwill website, saw its potential, and bought it as a surprise for me. The wood case had quite a bit of water damage, but all the keys were playing fine.
I’ve been sharing about this project on my Instagram, so perhaps some of you have seen some of these photos. If you happen to have Instagram, I would actually recommend viewing the photos there (click HERE). But if you don’t have Instagram, please keep reading!
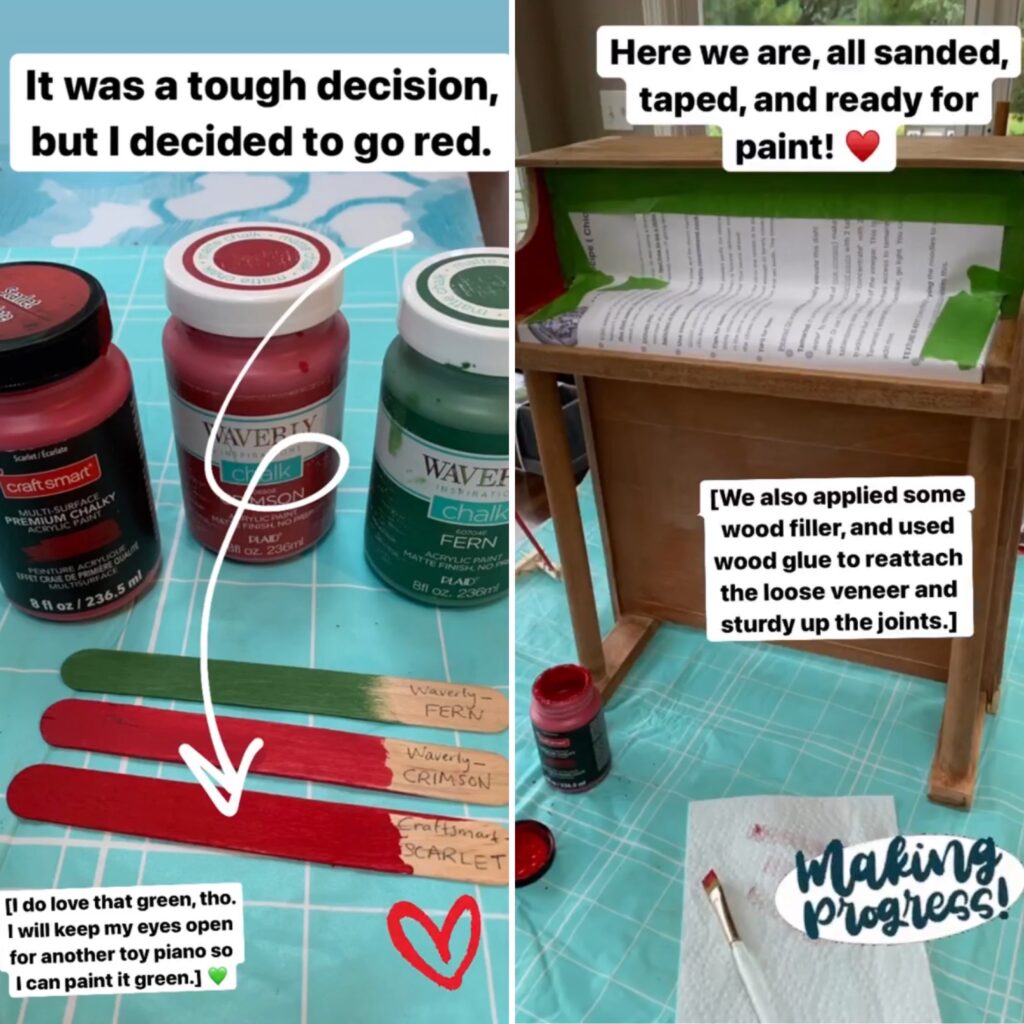
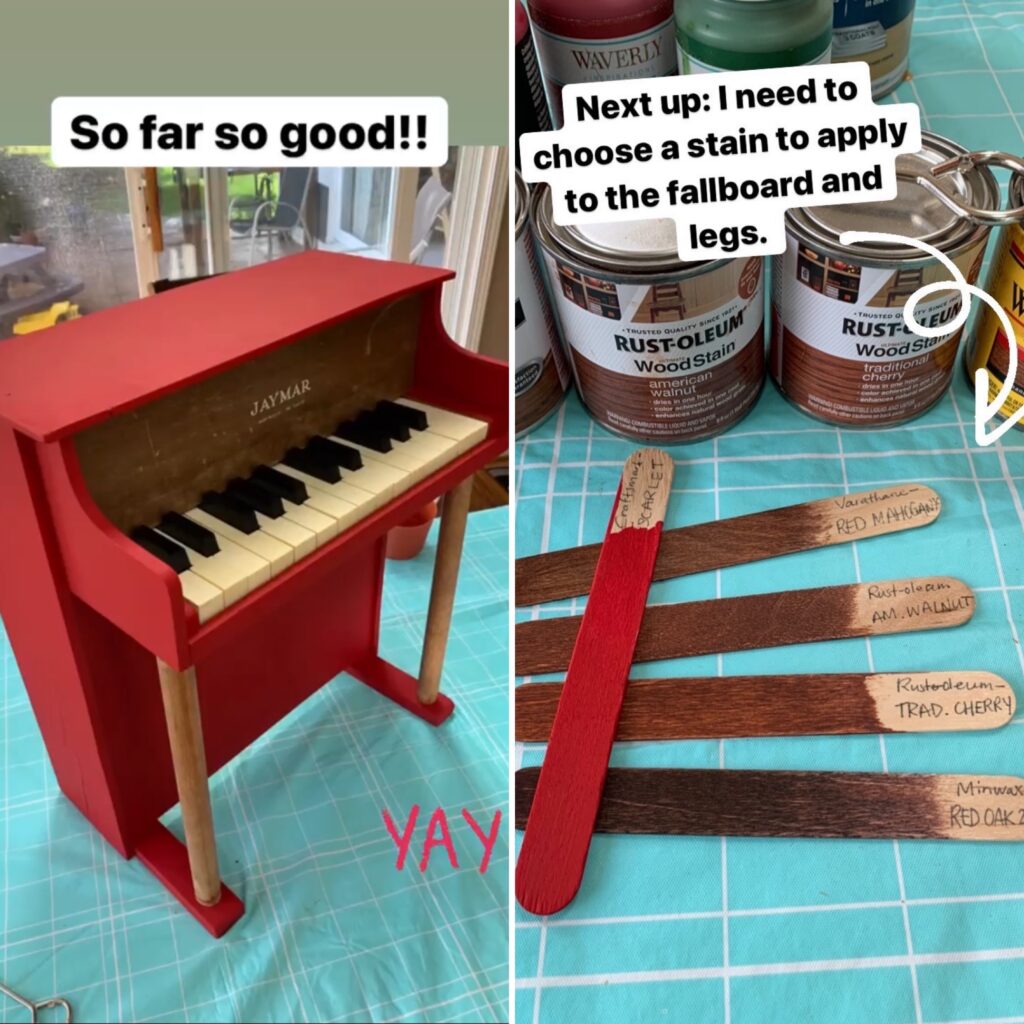
Chalk paint is always a great choice for furniture. It gives such good coverage and provides a nice, matte finish when its done. I had a few different colors already in the house. I went with Scarlet Red.
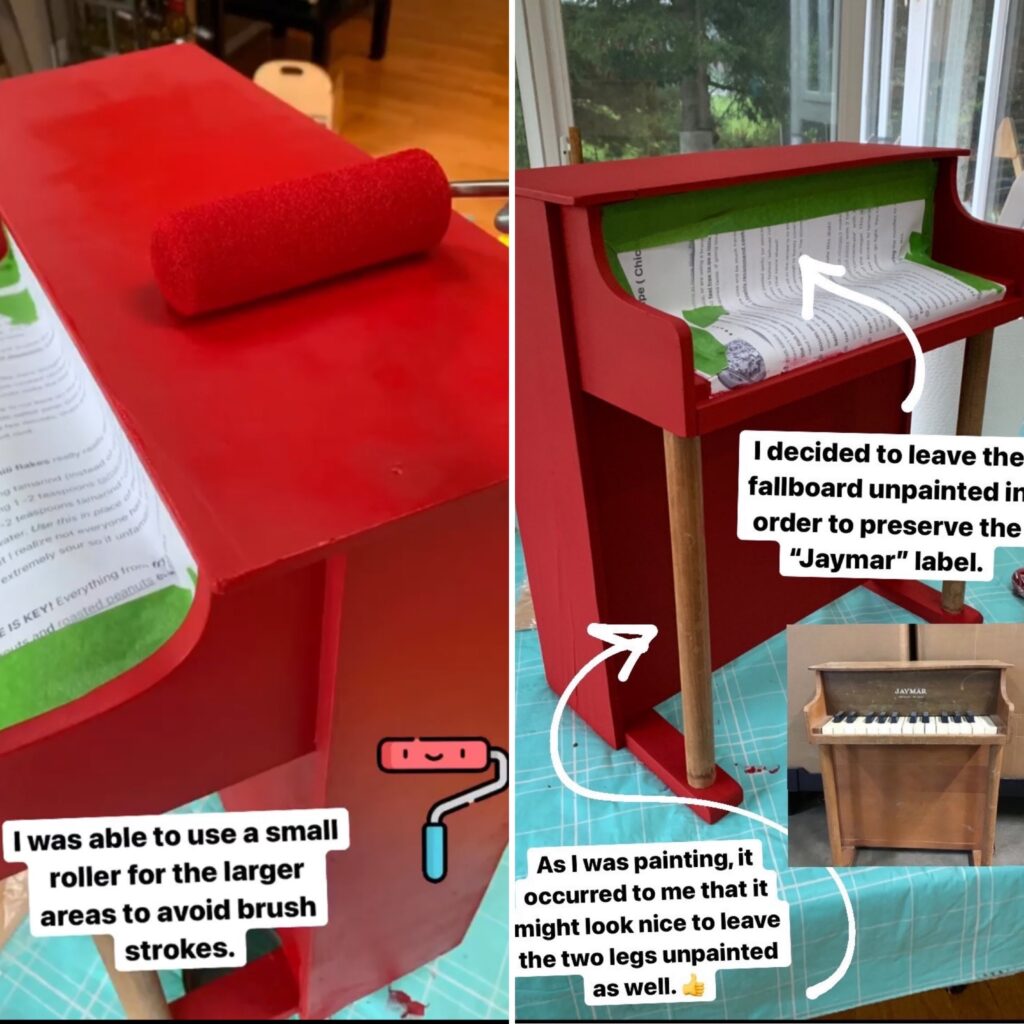
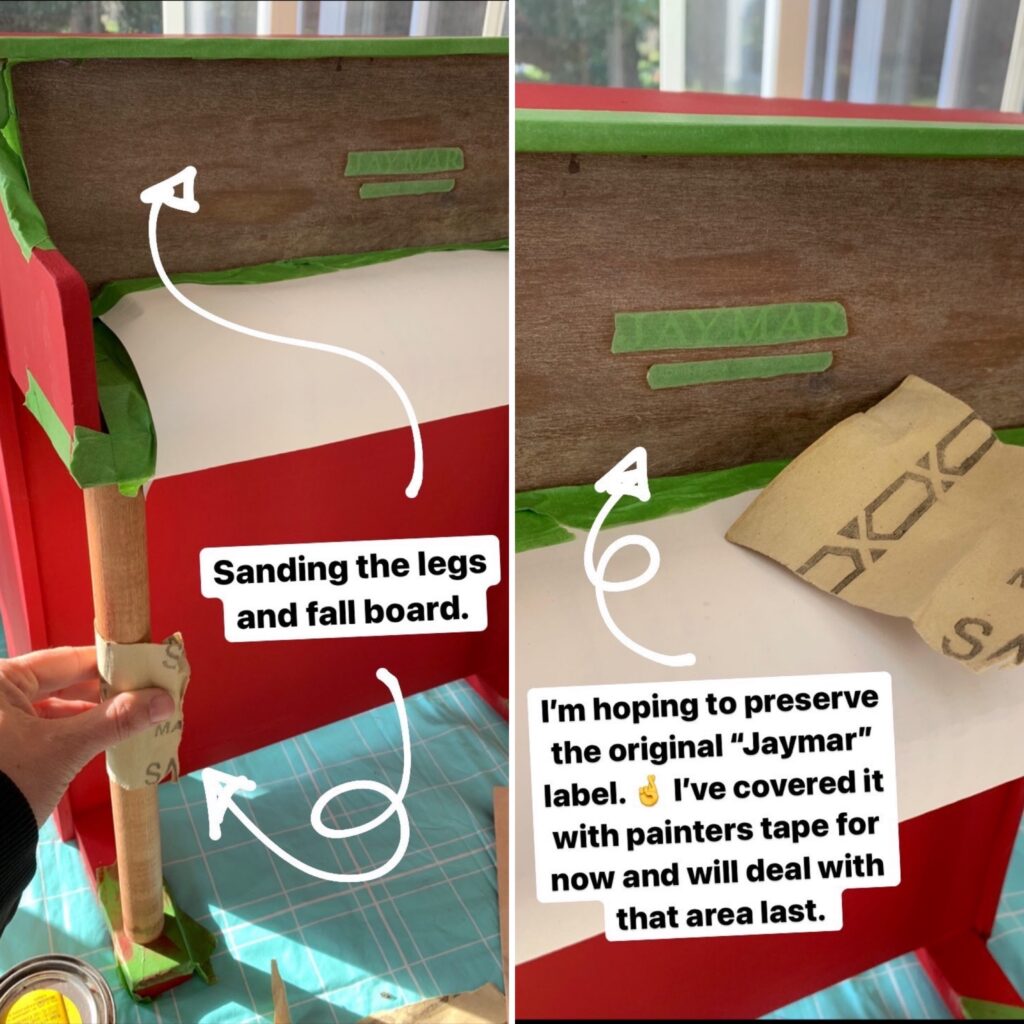
I decided not to paint the legs and fallboard, in order to preserve the “Jaymar” label.
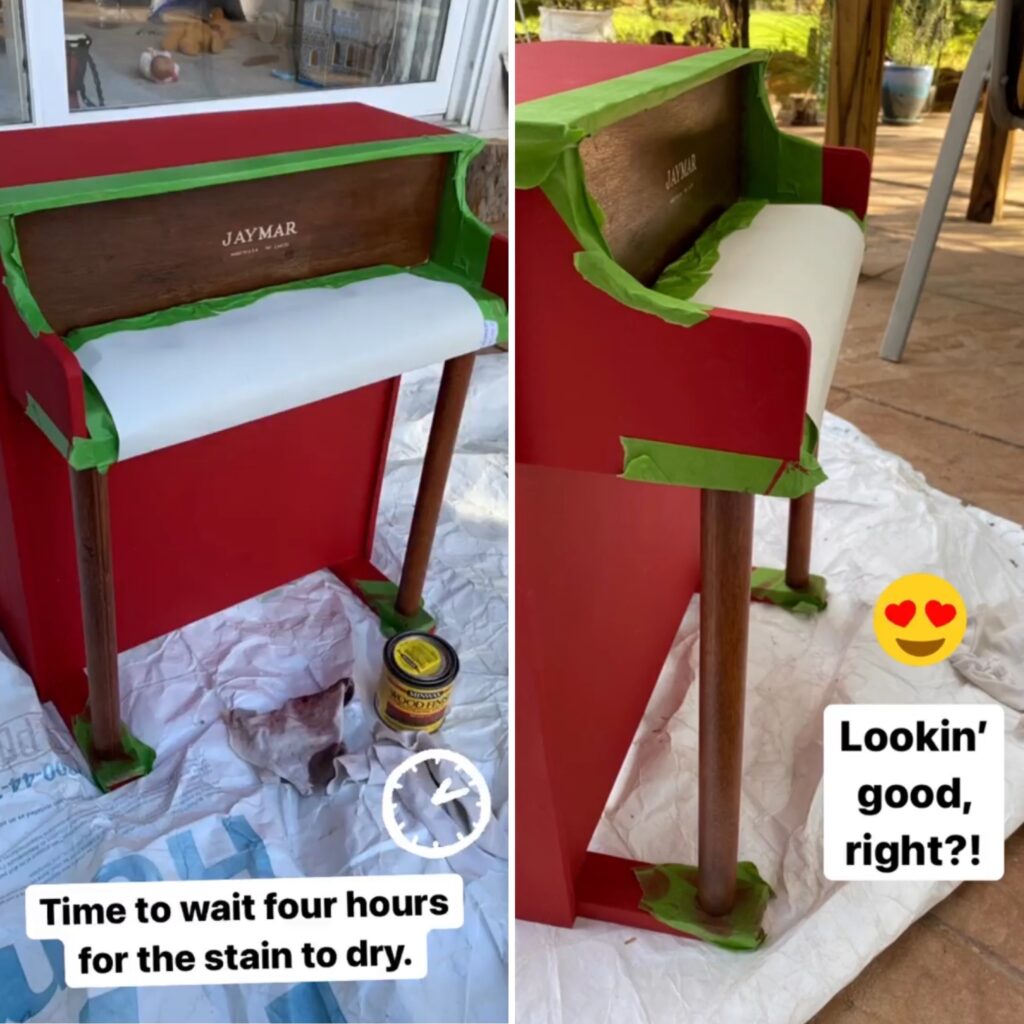
Then, I prepared for staining.

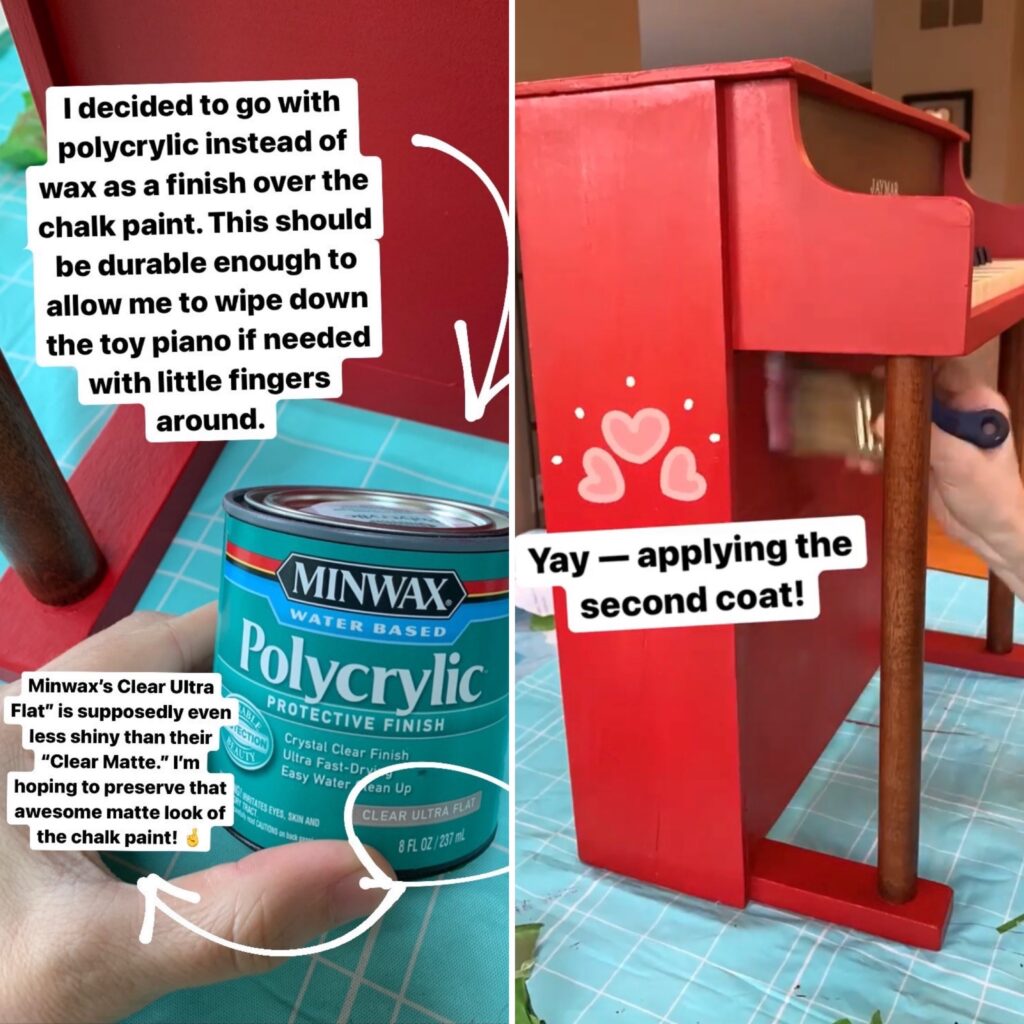
I applied three coats of polycrylic.
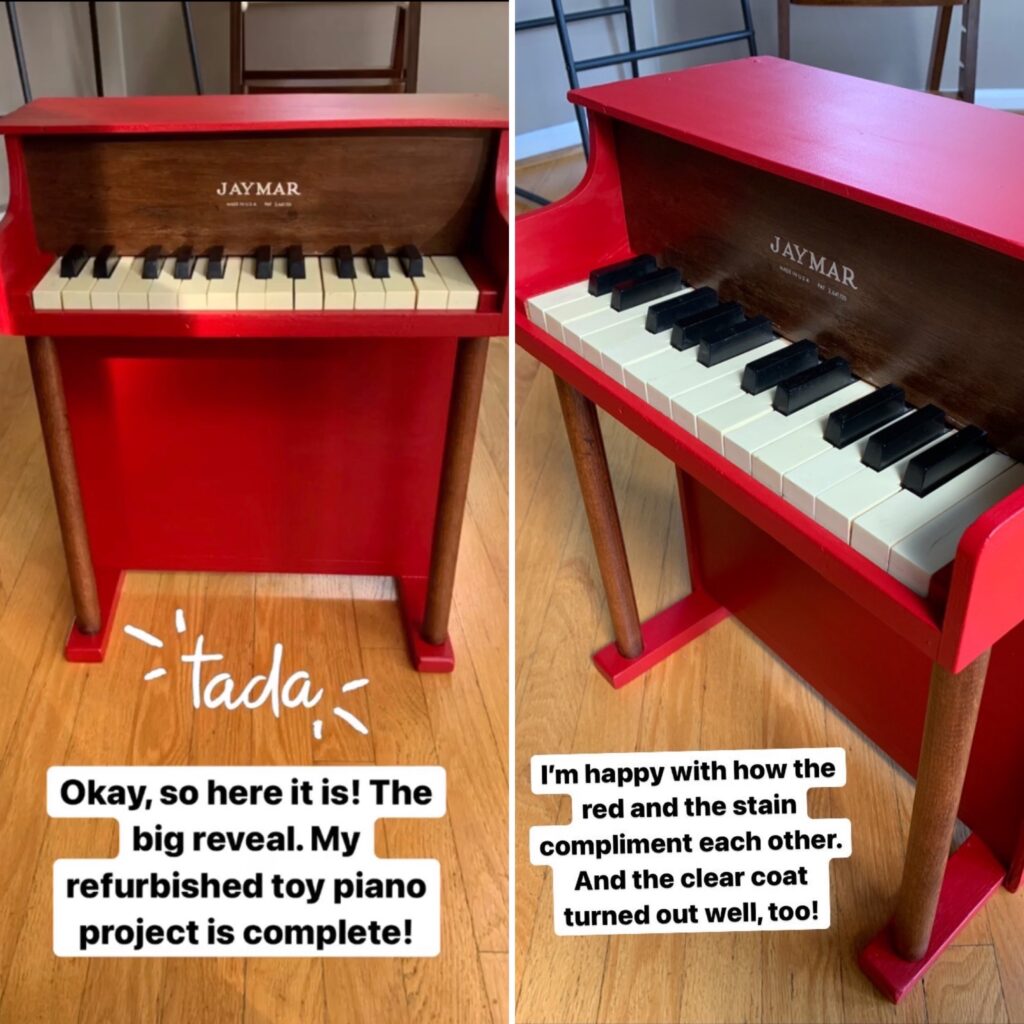
And here’s how it tuned out!
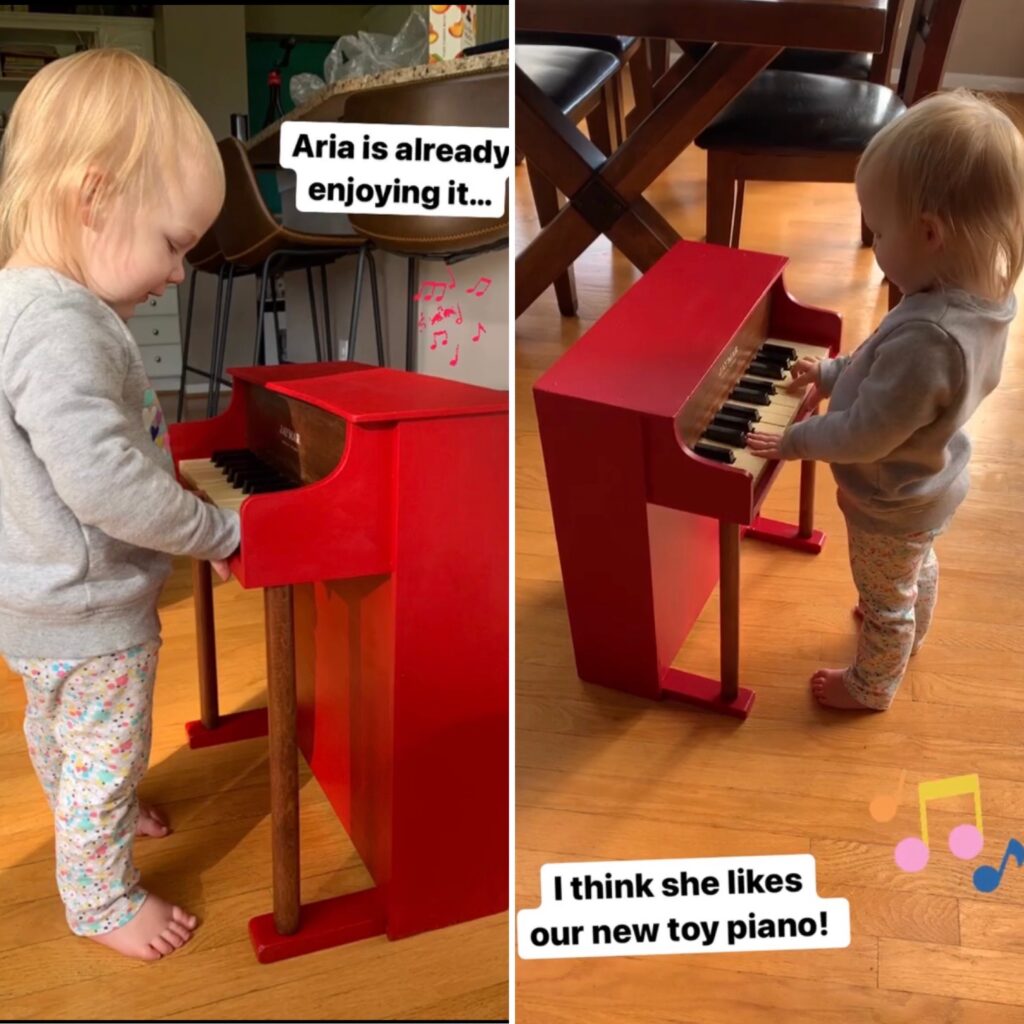
My daughter, Aria, (22 months of age now) is enjoying our new toy piano!
I’m happy with how this project turned out! It actually turned out even better than I expected.
Thanks for checking out my project!
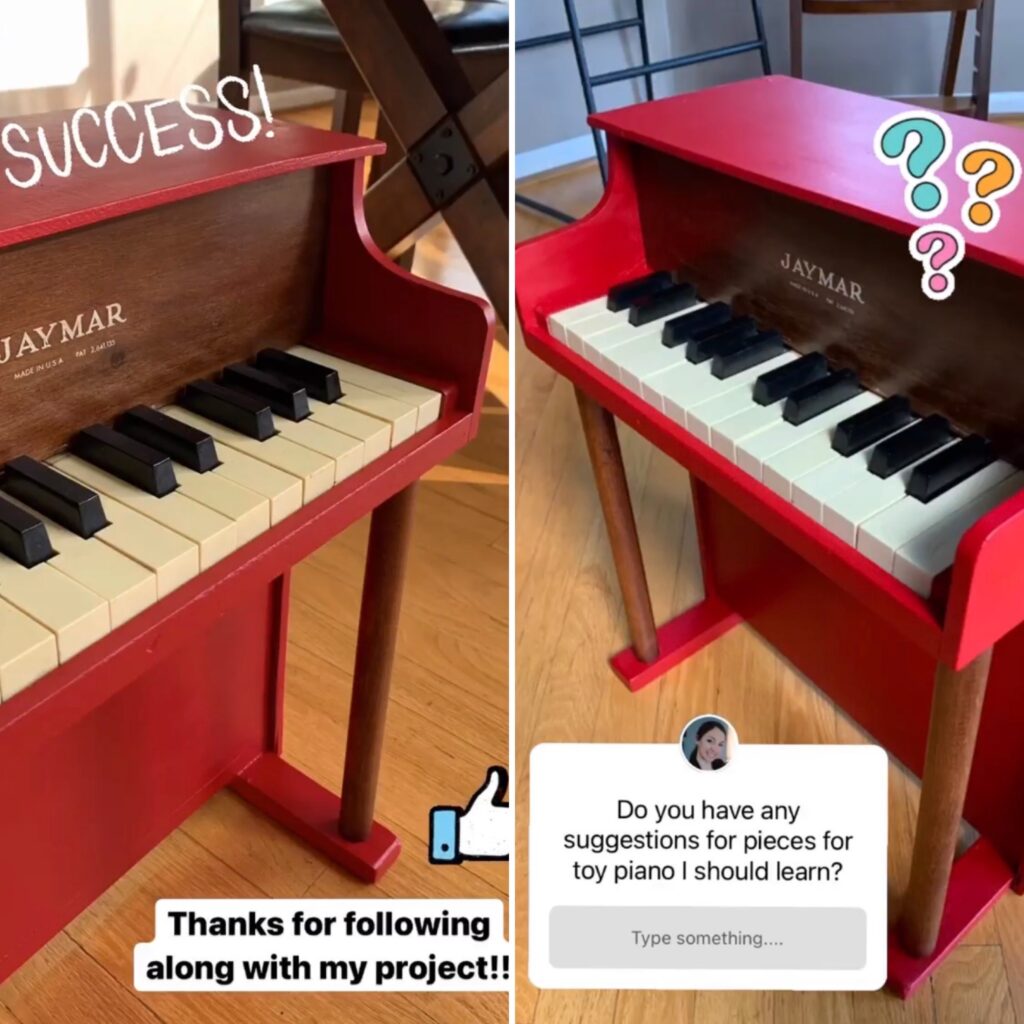
Anyone have any suggestions for pieces I should learn to play on my new toy piano? 🙂 If so, leave your ideas in the comments.
PS: One last note about Instagram. I like to post fun updates that aren’t big enough to make it to the blog. You’ll find little peeks into my teaching, family life with my husband and little daughter Aria, and anything else fun I’m up to in everyday life. I invite you to follow me here!
What a wonderful job! Very exciting to see this restoration! My grandfather worked for Jaymar puzzle company. We hv two uprights and a baby grand toy piano! ???
Thanks so much for your comment, Wendy. How cool to hear your grandfather worked for the Jaymar puzzle company! And that’s great that you have a few toy pianos!! I’d love to see photos if you’d like to email them to me!
Wow! Impressive and inspiring, as always, Joy!
Thanks, Marissa!
Great job! Would love to hear the result as well.
Hi George! I’m not sure if you’re on Instagram, but there’s a short video there if you tap on the “Toy Piano” highlights on my Instagram profile and watch through the whole set.
This is really sweet! I was wondering how you fixed the water damage.
My husband and I applied wood glue and wood filler to try to strengthen and cover those areas. It’s not perfect, but it’s sturdy and MOSTLY smooth in those areas!
What a great project. Thanks for sharing.
Thanks, Cindy!
Crafts and music together! My two favorite things! You did an awesome job, and how cute to see Aria enjoying it. 🙂
Aw, thank you Jane!
Love it! Great work, as usual! The red was a great choice!
Thanks so much! I’m glad I went red!
You did a great job! I watched your videos on IG. I imagine you got this done during nap time?? Well done. Twinkle Twinkle Little Star is a good piece to start 😉
Ha, yes, I worked on this project mostly on the weekends when my hubby was around to distract Aria from what I was doing. 😉
This turned out beautifully! What a wonderful job! Thank you for sharing and kudos to your hubby for finding this little gem! 🙂
Yes! It was such a nice surprise from my hubby. He knows me well. 😉