
This post is a followup to yesterday’s post, Meet Lucia, Piano Teacher in Puerto Rico! where we got a glimpse into Lucia Fernandez’s lovely piano studio space.
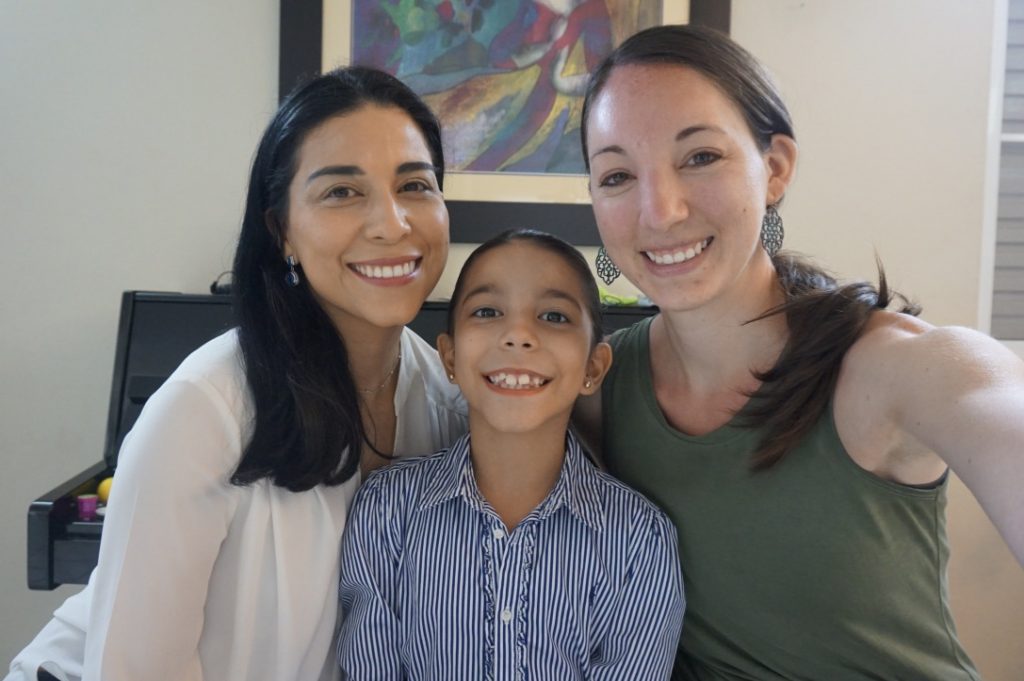
Quick backstory: Lucia attended Irina Gorin’s workshop back in May and is familiarizing herself with Irina’s method, Tales of a Musical Journey. I took Irina’s workshop back in 2015, and have been an enthusiast ever since. Lucia and I connected via Irina’s Facebook group, and decided to get together in person while I was vacationing in Puerto Rico. Using Lucia’s daughter as a guinea pig, we explored certain aspects of Irina’s techniques together. Today, I’m sharing a few of the video clips Lucia took during our time together!
A few things I want you to know before we dive into the videos:
- Irina’s method is designed around developing a beautiful sound and a healthy technique from the beginning. That is the focus of these activities, as you will see.
- Ana isn’t a total beginner — she has been taking lessons with her mom for over a year. They’ve been using other books in addition to recent explorations into Irina’s book. Ana is seven years old.
- Although I did take Irina’s workshop and have been using her materials for a few years now, my teaching isn’t as amazing as Irina’s. 🙂 I encourage you to learn from the master! Check out Irina’s extensive YouTube channel here.
Video #1: Tone Production
- 0:00 We used Irina Gorin’s putty prop to lay a foundation for healthy tone production — pressing gently but firmly through the putty using the fingertips while avoiding excess tension in the hand. I model it for Ana, and then ask her to try. I coach her to slow down the process and make sure she is breathing. We are using finger 3 since it is in the middle of the hand.
- 0:40 I use physical touch to again encourage her to relax her hand. I’m watching for fingers that are splaying out. That would be a sign of excess tension.
- 0:50 We switch to the left hand. I place my hand over Ana’s and we do it together. It’s very important to use a light, natural touch when making physical contact — keeping yourself whole while guiding the student. It would be easy to make the mistake of inadvertently weighing the student down into over-doing or collapsing. By the end of this video, Ana is starting to get it!
Video #2: Simple Rhythm Dictation (1/3)
- 0:00 Ana echos back a few rhythm patterns. (I prefer having students use their voices instead of clapping, tapping, or using an instrument — especially when they are young — but we do those other things at times, too.) The rhythm patterns are four macrobeats (big beats) in length, and we are in duple meter.
- 0:12 We use Irina Gorin’s black and white circles to notate the rhythm (Othello tokens also work great for this!). For the first one, I pretty much do it for her. Good teaching involves teaching students the answers!
- 0:35 Once she’s seen how to do it, I ask her to try it. I always ask students to echo back the rhythm before they start notating, to encourage them to internalize what they heard.
- 1:08 I lead Ana through the process of checking her own work against the rhythm pattern she internalized. Again, I’m pretty generous about “giving her the answers”. We make corrections, chanting the rhythm together throughout the process. [Continued in the next video.]
Video #3: Simple Rhythm Dictation (2/3)
- 0:00 I gave Ana another rhythm. Again, we work together to check her work. When we find a mistake, we laugh and make the correction. We keep the process fun!
- If Ana were my student, I would follow up on this activity for the next couple of weeks until she becomes more accurate and independent at doing this.
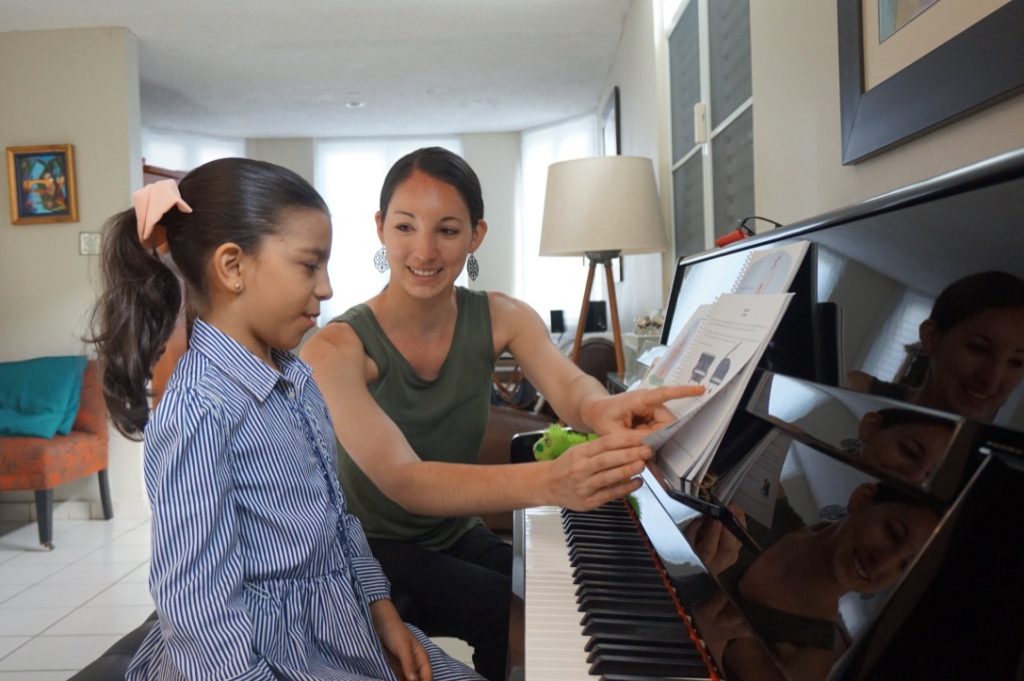
Video #4: Simple Rhythm Dictation (3/3)
- 0:00 We are now reading the black and white circle rhythms in Irina Gorin’s book, Tales of a Musical Journey.
- 0:30 I show Ana that the next pages in the book show the black and white circles now moving either up or down, like stair steps. I play the “Butterfly” song as an example, and then ask Ana to give it a try. You’ll notice that the entire song is to be played with finger 3. I love Irina’s gradual approach towards using all five fingers. It gives students a better chance at developing a natural technique, free of excessive tension.
Video #5: Staccato Technique
- 0:00 Here, we explore Irina’s technique for learning staccato. This is normally taught when students are about halfway through Book 2. The staccato gesture is essentially the same as the non-legato gesture learned in Book 1, except that the release of the key is quicker. We use a toy frog for this, which gives students feedback on how they are doing. (These are the frogs I order for my students. I let them pick out their favorite color and keep it, for home practice.) I demonstrate the staccato for Ana and explain it. She finds this entertaining!
- 0:33 I ask Ana to give it a try. She does quite well on her first few attempts. We continue doing it, to build more consistency.
- 0:54 This attempt doesn’t go as well, because she kept her finger down on the key. I direct her attention to the sound, so that she hears that it wasn’t staccato. She tries again, and produces a good staccato. If Ana were my student, I would follow up on this activity during subsequent lessons.
- There are many different types of staccato. This is what some would call “wrist staccato”. It’s a starting point. And we are over-doing the gesture a bit, in order to learn it.
Thanks for watching. I hope you gained something useful from our mini lesson experiment. A huge THANK YOU to Lucia and Ana for making this possible, and to Irina for her innovative teaching approaches!
I love the black and white circles to practice rhythms with!!! What a great resource! I’m definitely going to look into Irina’s books! I LOVE the Faber books but I do agree that my students get so used to the same position that (for example) they automatically play finger 5 when they see a G even though their thumb is on F because they’re so used to C Position! I also find that my younger students do have a difficult time with the stretch and the strength in their 4th and 5th fingers.
Thanks for your comment! Those are good observations. I’m glad you’re interested in taking a look at Irina’s books! Also, here’s a link to a post with more about using the black and white circles. I think it’s a great way to start working with rhythm! https://colorinmypiano.flywheelsites.com/2017/05/12/rhythm-activities-with-othello-chips/